I am SO VERY excited to have the PicMonkey gurus Leilani and Emily from Just a Touch of Crazy guest posting over here as part of the Blog Staycation. These ladies have so many seriously amazing pictures and images that literally fly off the page and are oh so pinnable! Make sure you check in over at their website to read all of their incredible tutorials all about using PicMonkey.
Turning things over to the gurus now!

So what can you do with PicMonkey?
Anything!!
Okay, well not really anything. But as far as graphics and editing pictures and making awesome buttons and headers and pinnable images. . . well ANYTHING!
So it’s pretty understandable why PicMonkey is a blogger’s best friend. And one of the most fabulous things of all: lots of the features are FREE.
And if they’re not free, then they’re a part of the Royale subscription, which is $33 a YEAR. Not too shabby.
So Jen asked us to share a PicMonkey tutorial, and the question was where to even start? So I’ll be including links to some of the tutorials we’ve done at Just a Touch of Crazy, plus also give you some pointers on the tools PicMonkey offers that I think are the best for bloggers.
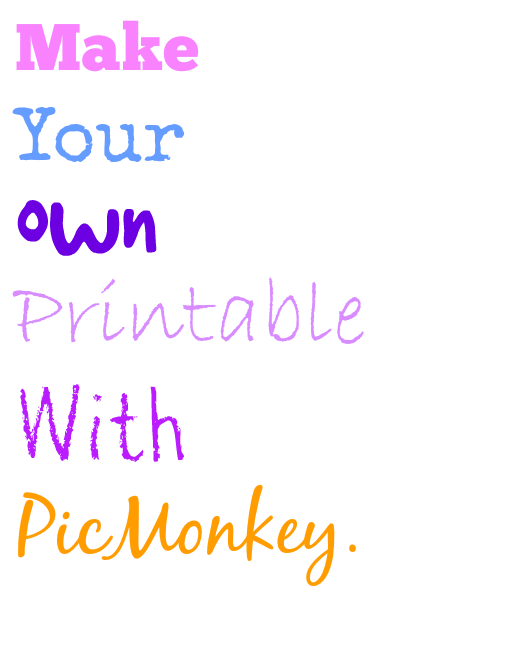
PicMonkey is great for making printables. And I love making printables.
Also you can play around with adding textures and images as the background for different prints. Click here to see one of the most popular prints we’ve made with PicMonkey.
Emily also shared this tutorial on making your own birthday invitation.


You can use these techniques to make all sorts of different collages to display in your home or for images for your blog.
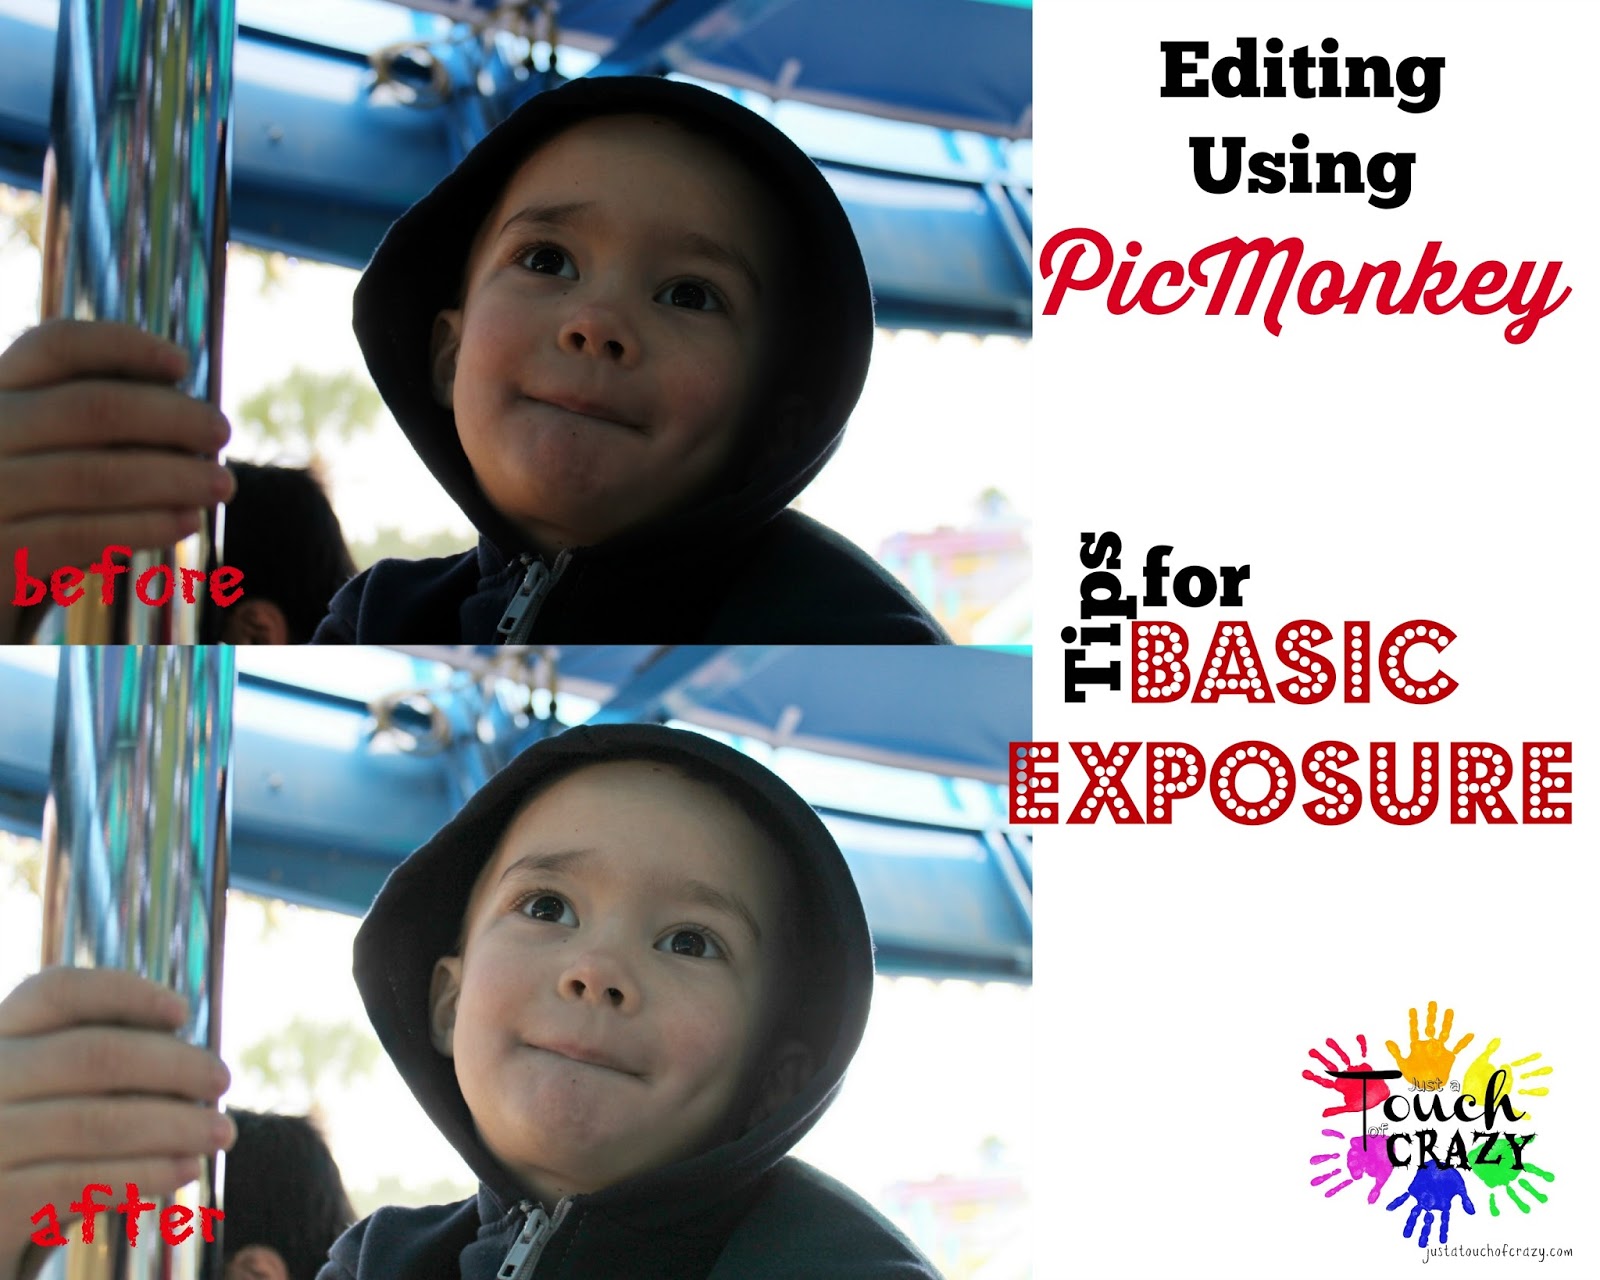
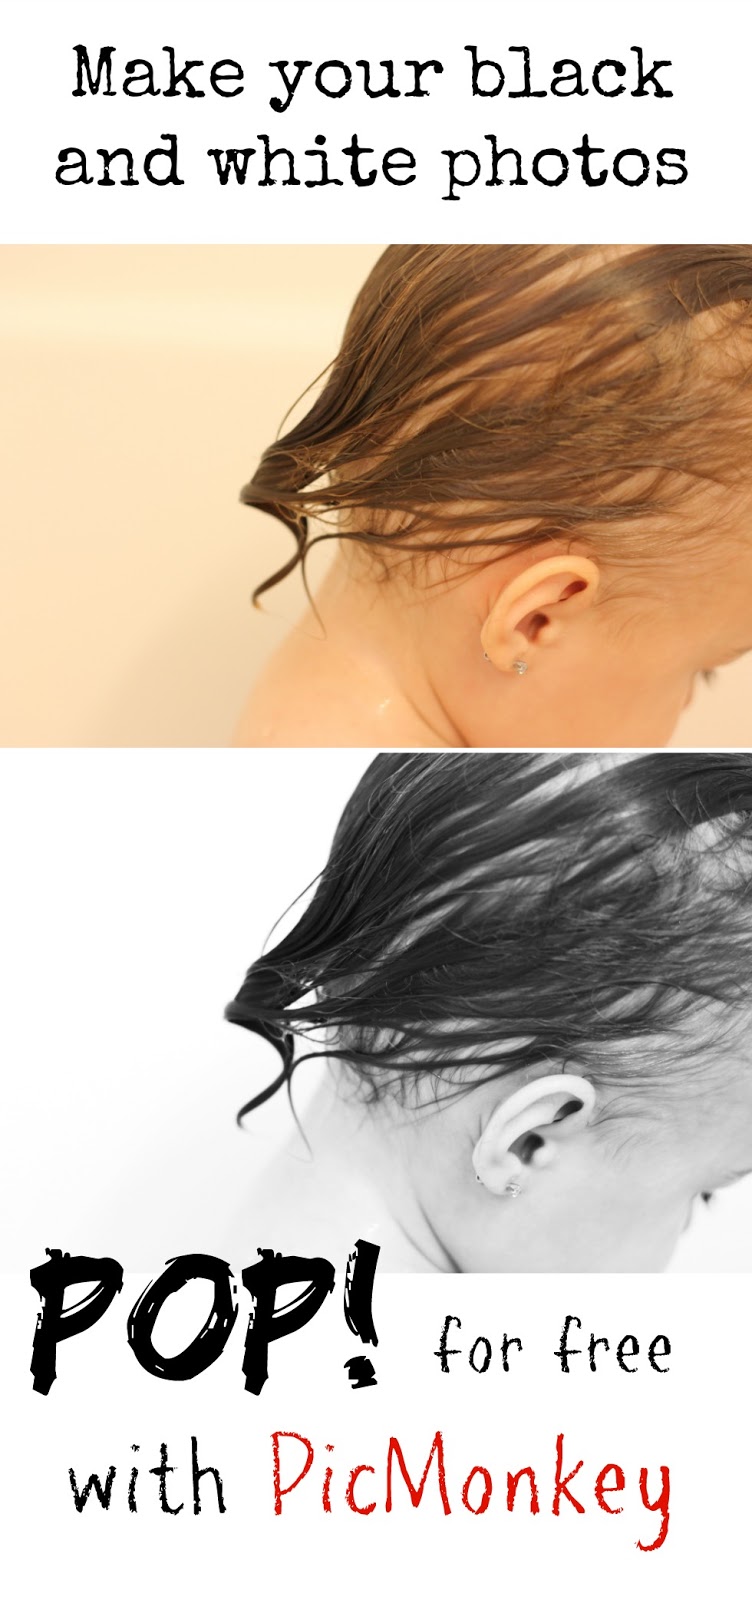
Need some tips on editing photos for your blog to make them stand out? Click on the image to check out these tutorials:

And I think the greatest tool that PicMonkey has for bloggers is the Overlay tool.
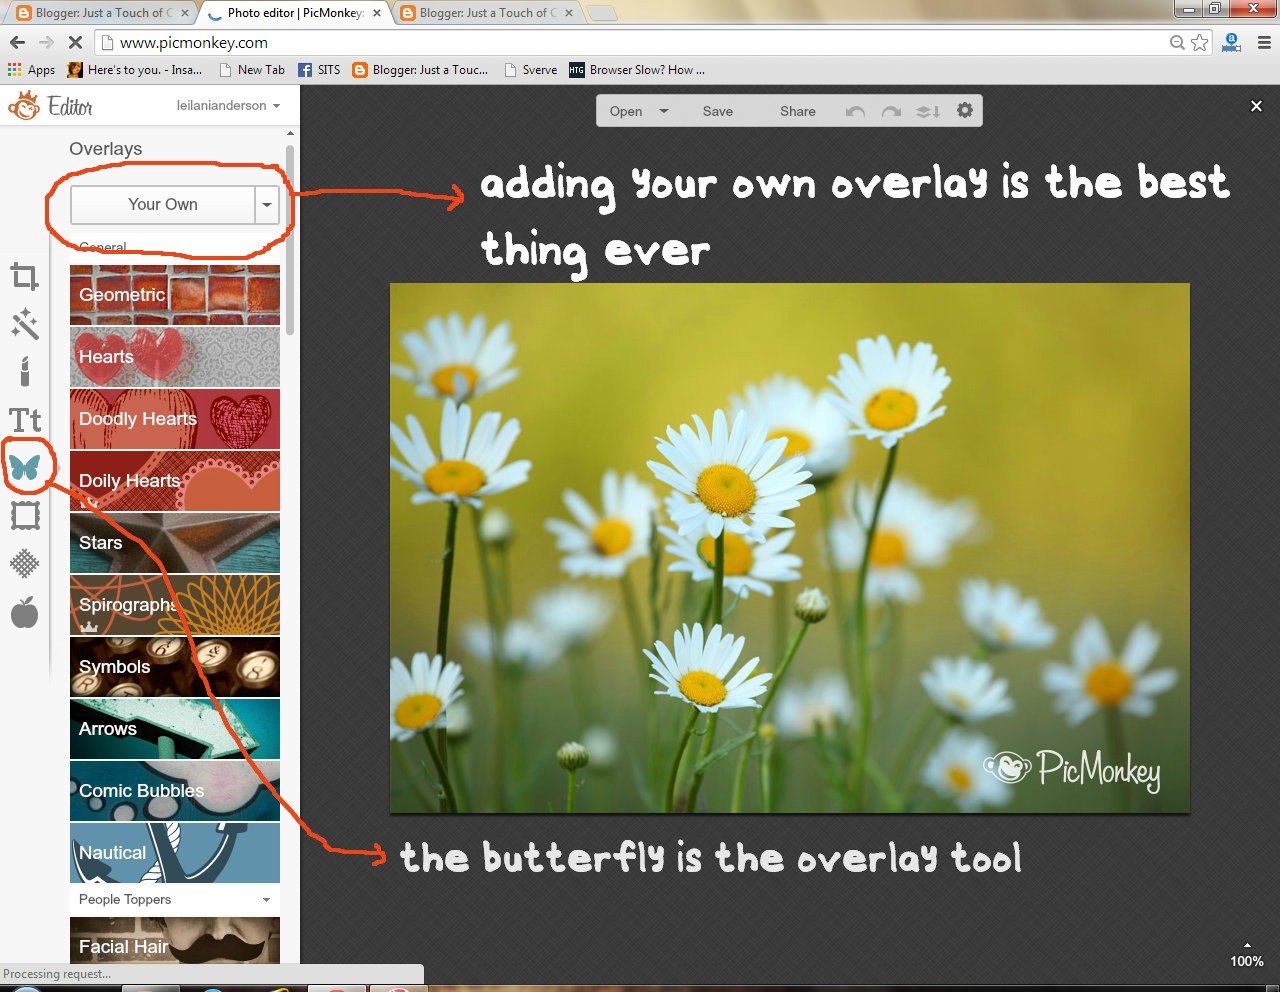
There are quite a few free overlays you can add, or some that require the Royale membership. Or you can add your own overlay. Which is awesome. That’s basically just picking any image that you have on your computer and adding it to whatever image you’re making on PicMonkey. The possibilities with that tool are endless.
Once I made these images,

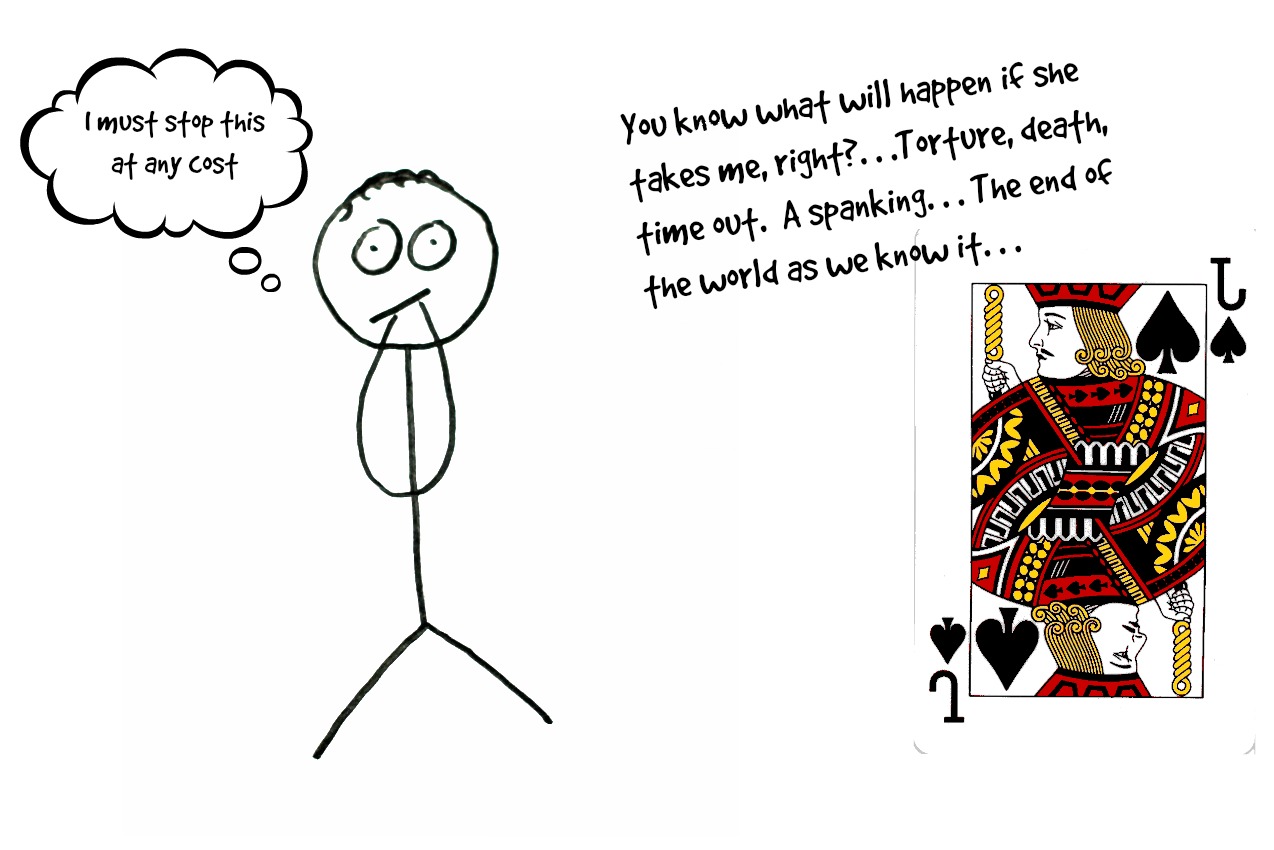
by opening up a blank image and adding the Jack as a separate overlay. Then I added the stick figure as another separate overlay. I actually drew the stick figure on a piece of paper and the plan was to scan the image into the computer. But my scanner was broken. So I took a picture of my drawing and used that as my image instead. The word bubble is a PicMonkey supplied overlay, as is the heart.
To make this image:
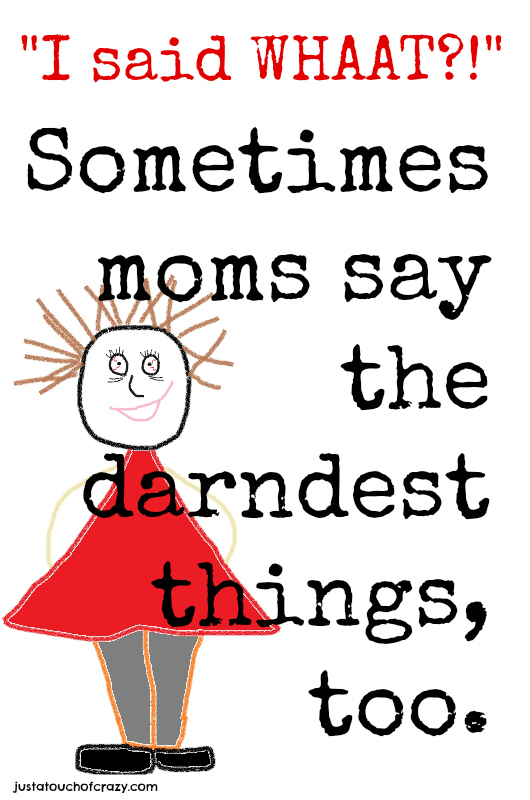
I drew that lovely mom in Paint (I know, aren’t my art skills so wonderful?) and saved it as a JPEG. Then I opened up a blank image, added the mom JPEG as an overlay, and added the words.
(You can read the Jack story here, and see what crazy things I say here)
You can also use the overlay to swap out heads and people or add people into scenes, all because the overlay tool has the ability to erase whatever part of the overlay you don’t want.
Click here for a tutorial on how to do switch heads with PicMonkey, which can be applied to a lot of different kinds of images you might want to create.

and myself as Lady Mary from Downton Abbey,


I was also once making this Father’s Day print (here’s just a part of it. To see the full print in the post click here)

and I wanted some of the words to look like handwriting. I couldn’t quite find the font I wanted, so instead I hand wrote each word in Paint, saved each word as a JPEG and added them in as separate overlays. Kind of time consuming, but it gave the print the look I was searching for.
See what I mean about endless possibilities with the overlay tool? I love it. I might marry it :)
Okay, so I hope that some of the information has been helpful!
Also we are affiliated with PicMonkey. If you do decide to upgrade to Royale and use any of our links to get there, that would be pretty awesome.
Happy blogging!
Thanks Emily and Leilani! So fun having you over here!
Stay Happy! Stay Informed!
Love,