This post contains an affiliate link, by clicking and purchasing from that link I receive a small commission! Thanks!
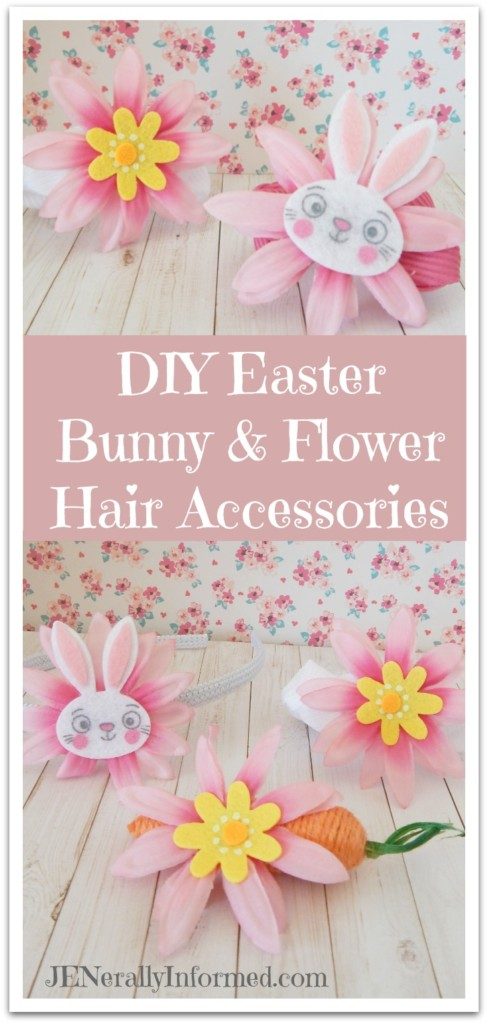
It has been cold and rainy here lately. I know that is on-par with the rest of the nation during winter, but here in sunny Southern Az we need our Jan-March to be nice weather so that we can go outside and play! Because there is NO outside play time when it is like 1 billion degrees. Not if you want to survive that is. To counteract all of the recent rain I thought I should take matters into my own hands and bring some sunshine and flowers to my “peeps”. Yeah bad pun I know, but today I am excited to share with all of you these super cute DIY Easter Bunny & Flower Hair Accessories I created!
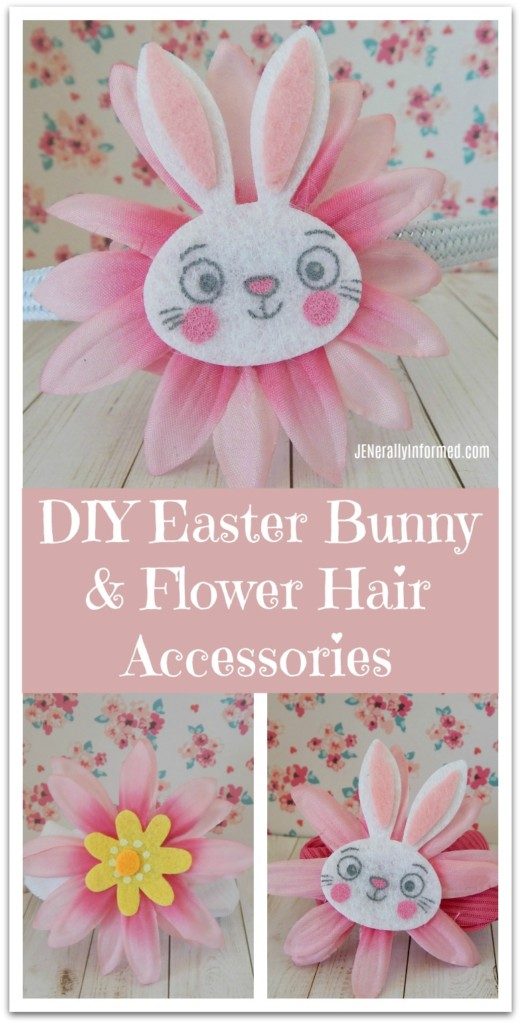
Aren’t they cute?
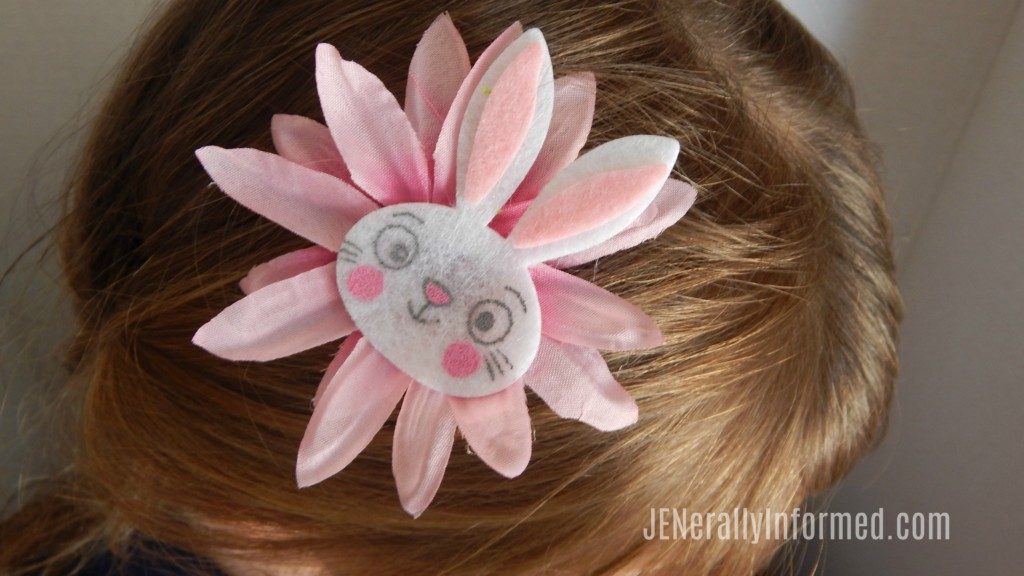
I might have worn one or a few of these hair accessories this week…..
And if I wore them, I might have received a lot of compliments!
So these are perfect for every age.
Here is everything you need to make them:
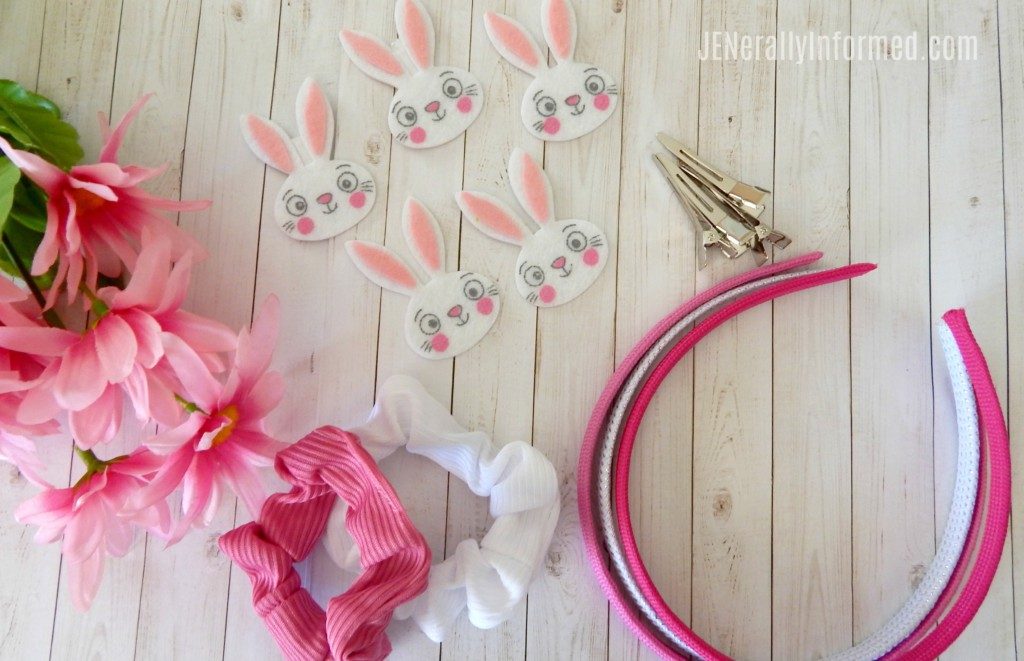
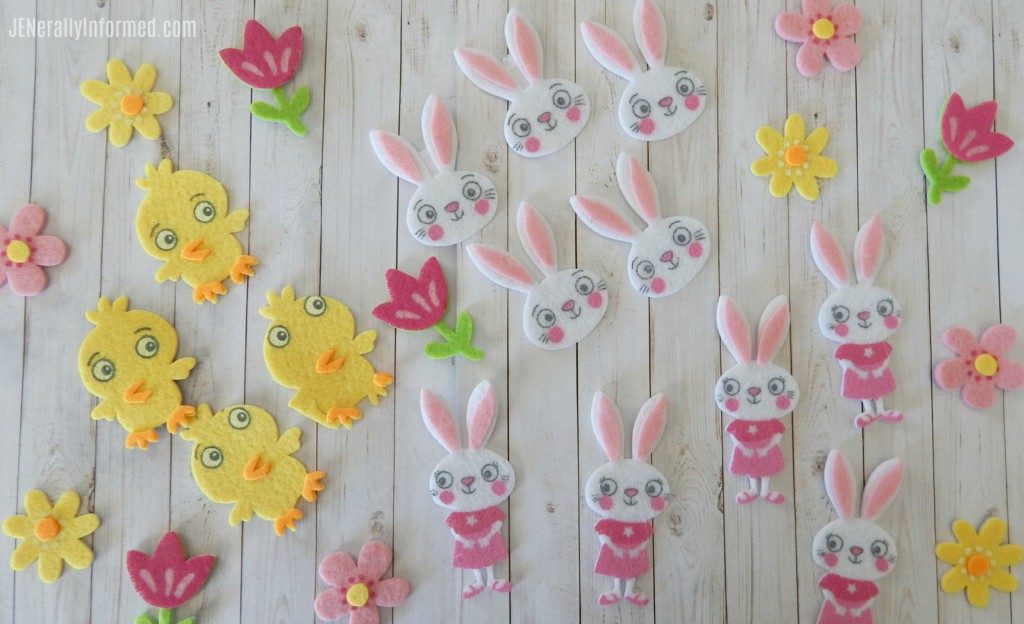
I grabbed all of these hair accessories and the flowers at my local dollar store and the little felt stickers at a craft store. You could also grab something similar to the stickers here on Amazon.
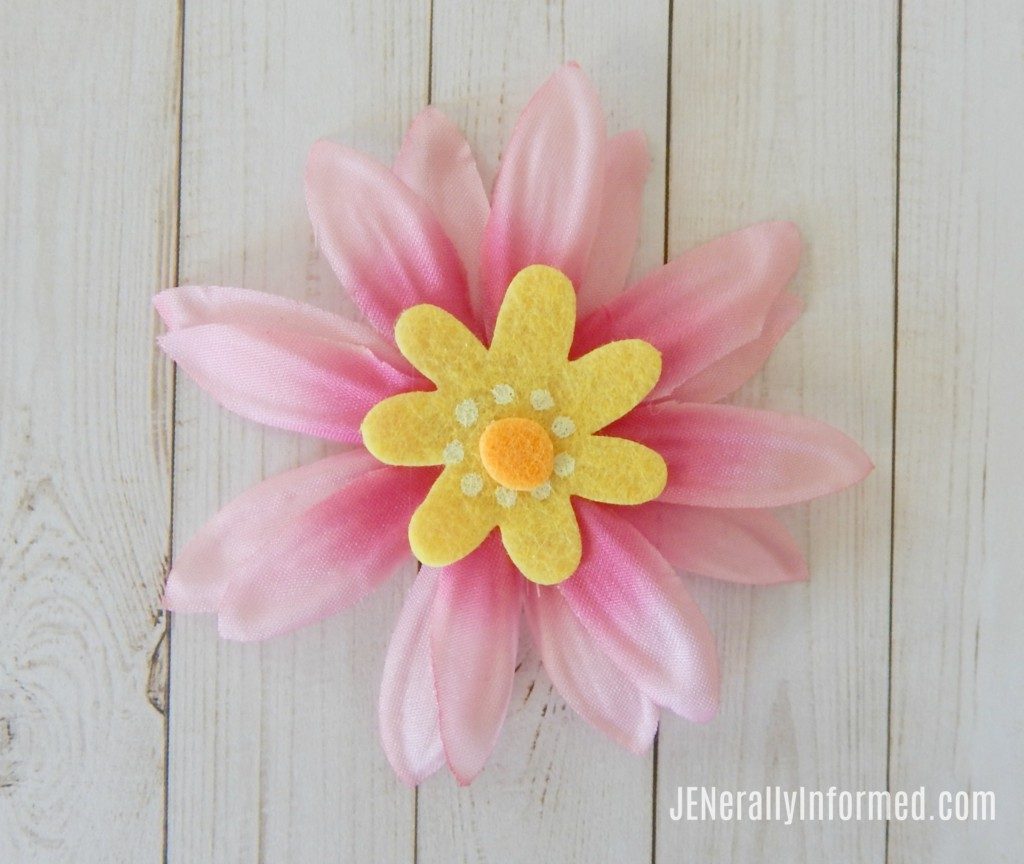
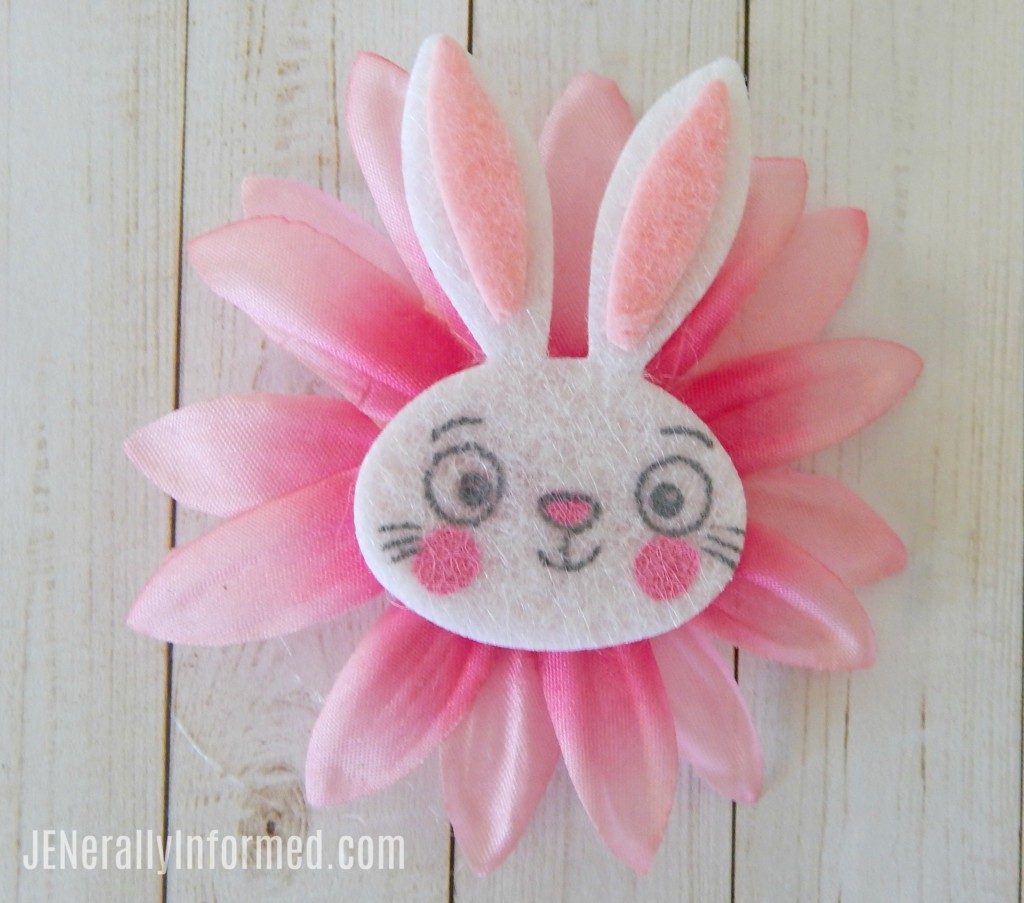
Flower-Bunny Center
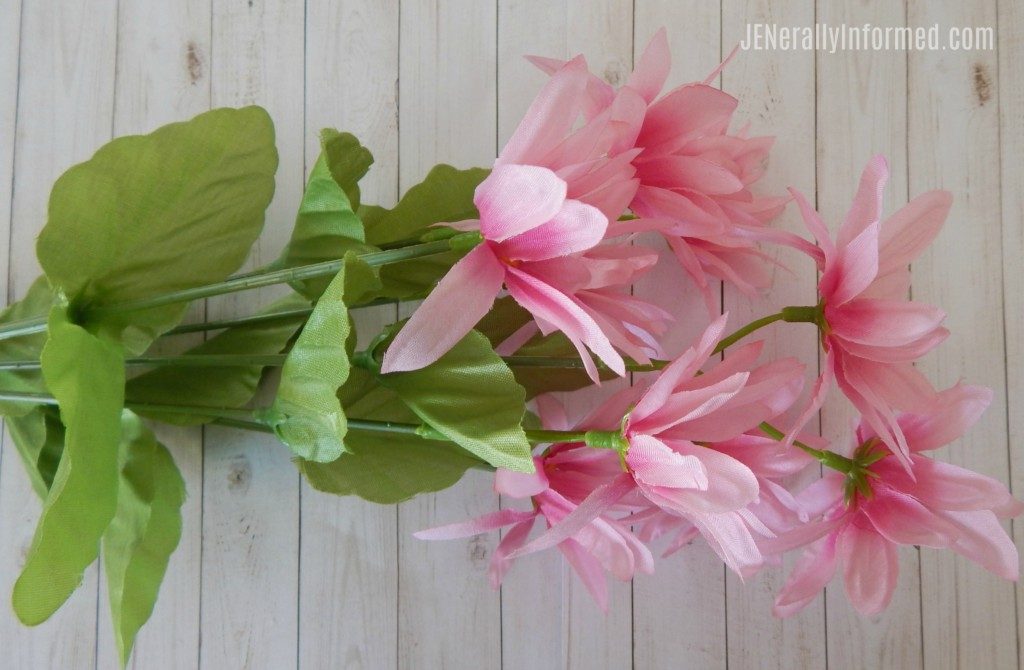
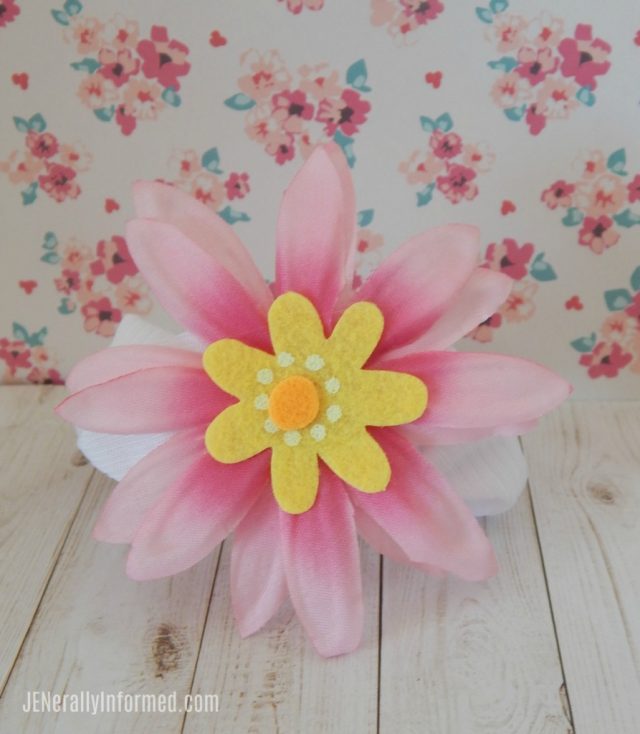
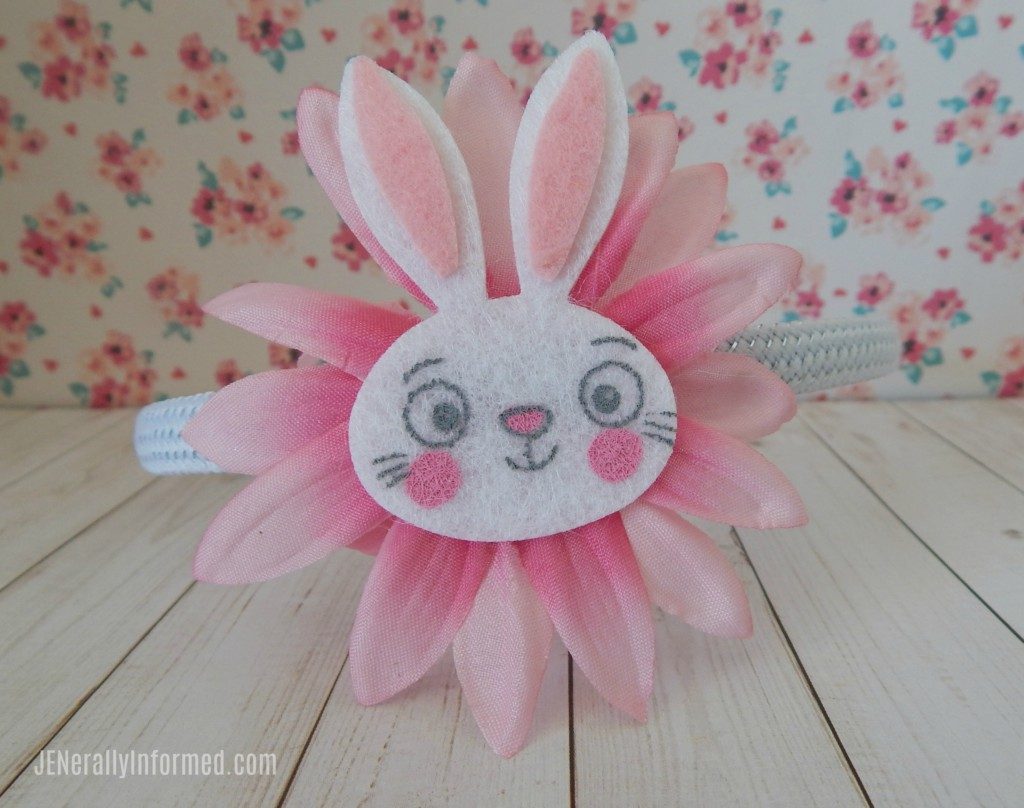
Let’s start first with making the flower center part. The flowers are the base for all of the hair accessories.
Pop off the flower from the stem and take out the center portion. Then hot glue the back of one of your felt stickers onto the flower itself.
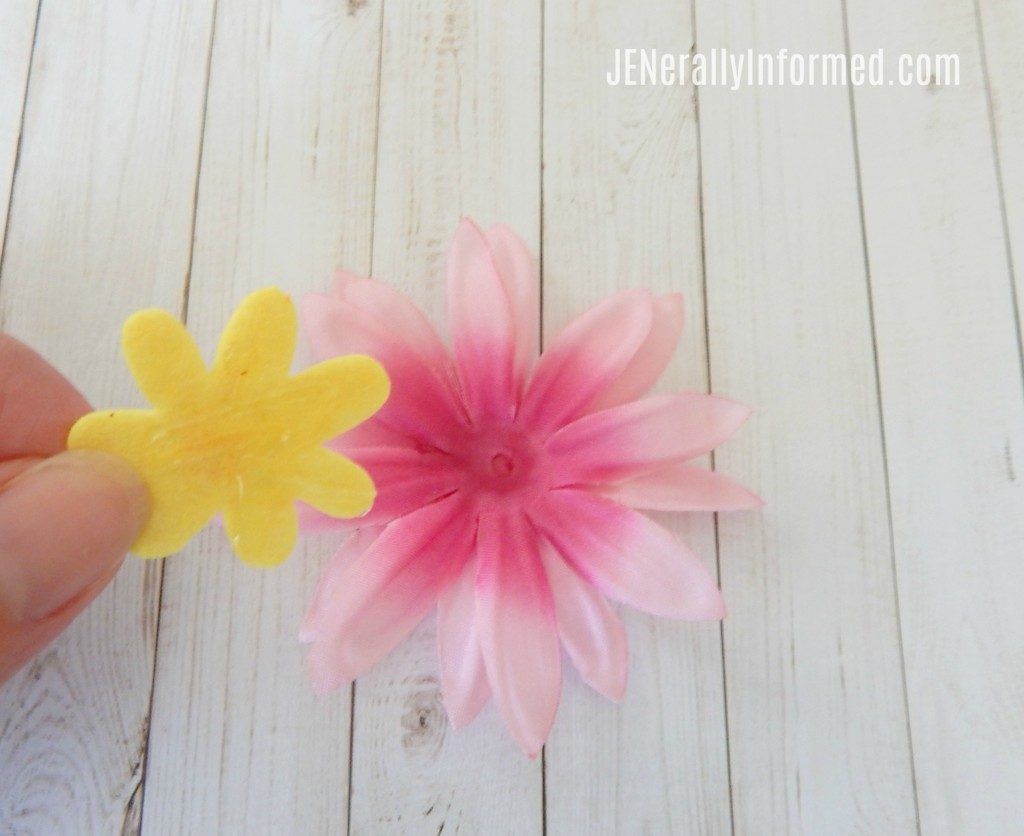
Voila! Now the flower and Easter Bunny centers are done!
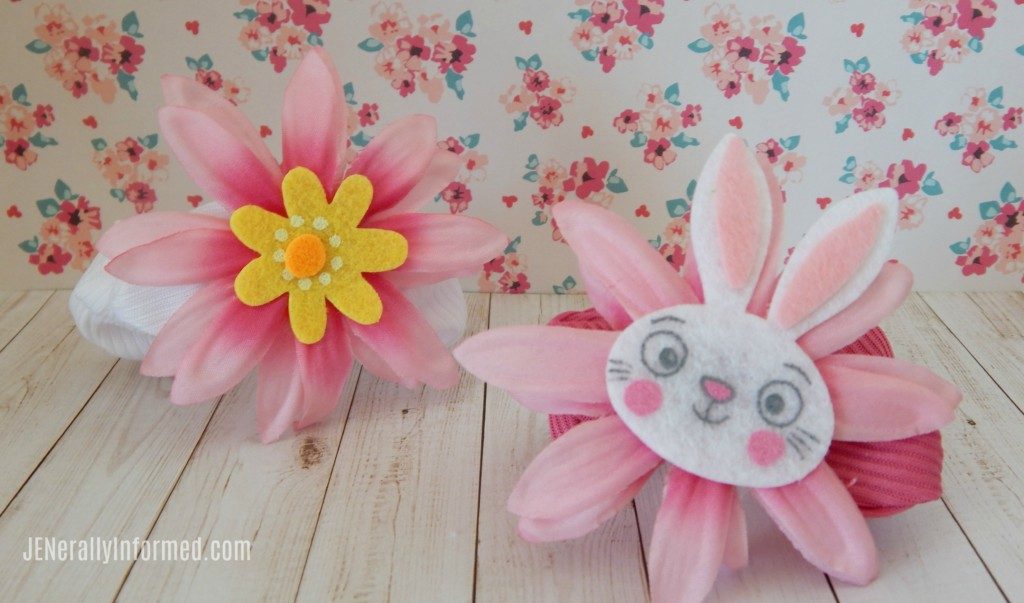
Now it’s time to attach them to all of your hair accessories. I applied all of them using a glue gun. You could also tack them on with a little stitch too.
Hair Scrunchies
Here are what the scrunchies look like with the flower and Easter Bunny stickers are attached. Again, I just attached the flower sticker combo with a glue gun.
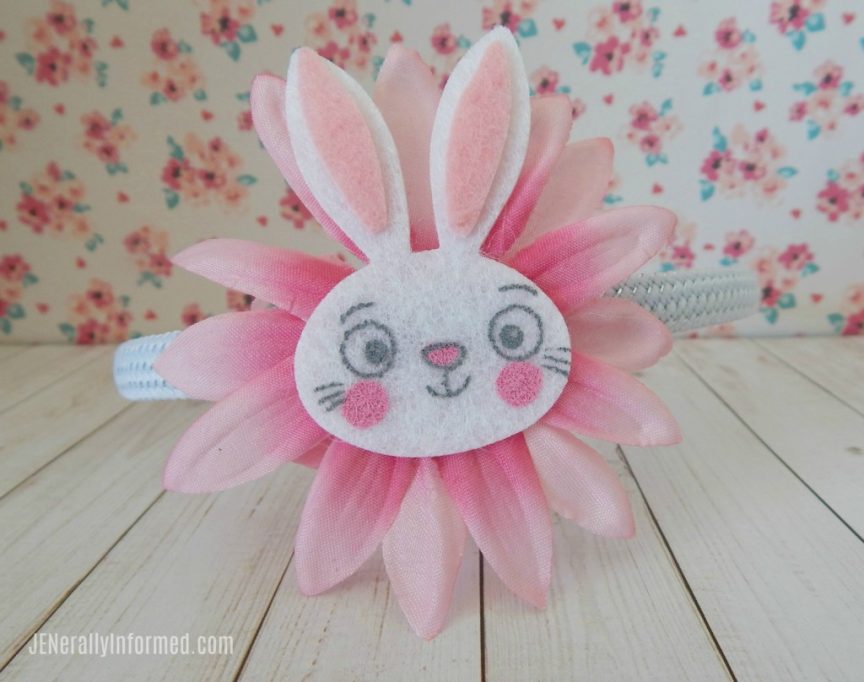
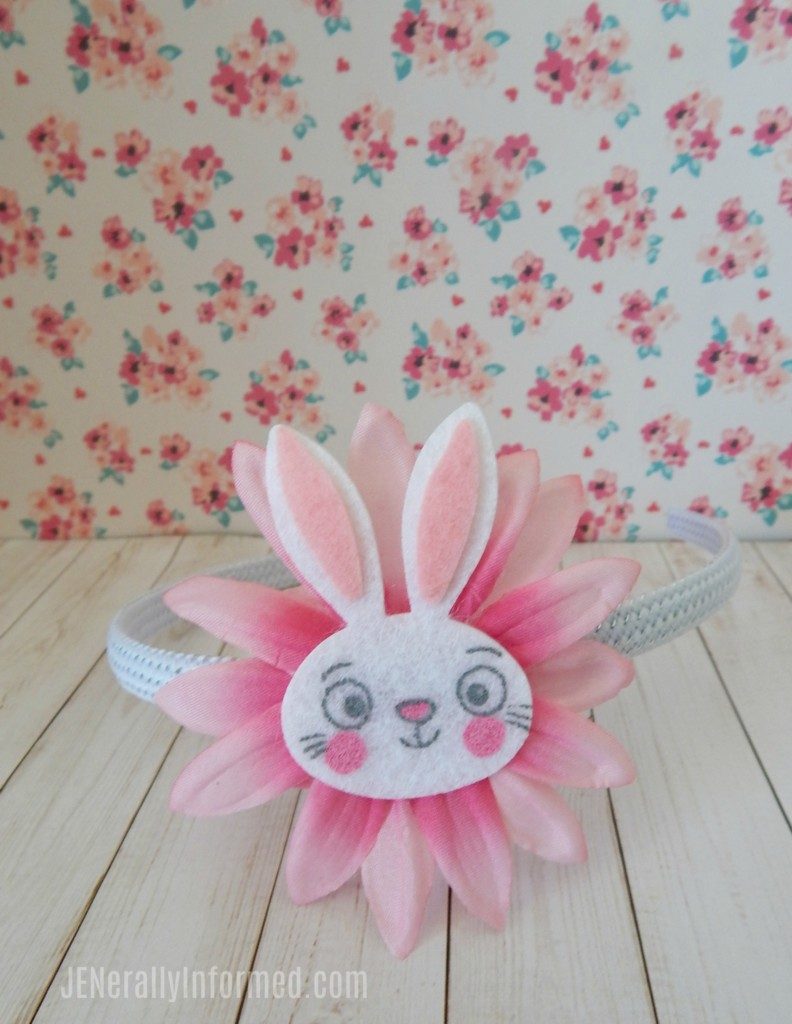
Headband
Check out the completed headband! Cute right?!
It is the same concept as the other hair accessories. Just apply the flower or bunny onto the headband with a glue gun.
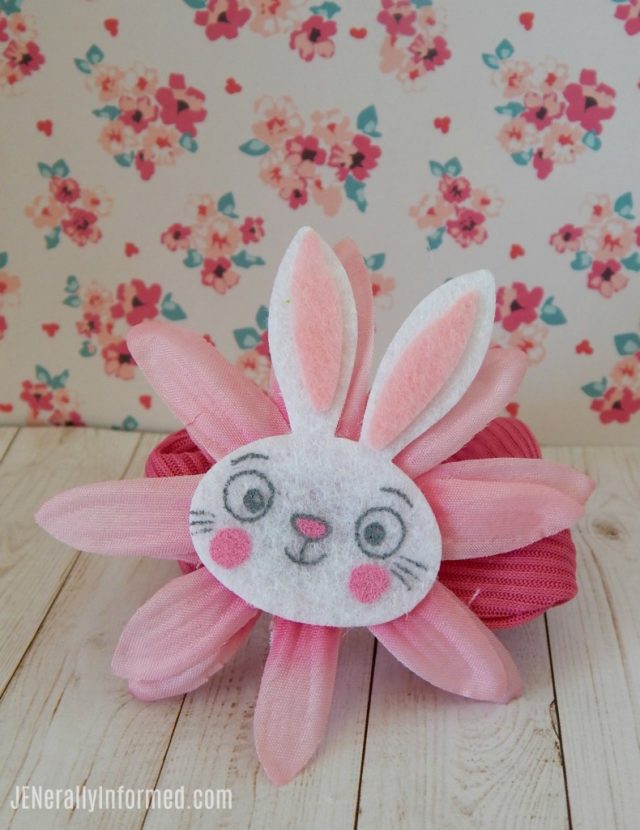
Hair Clip
Last but not least, take a look at the cute little bunny hair clip! It’s even cuter because my little bunny is wearing it.
Glue the flower/bunny onto the flat part of the hair clip.
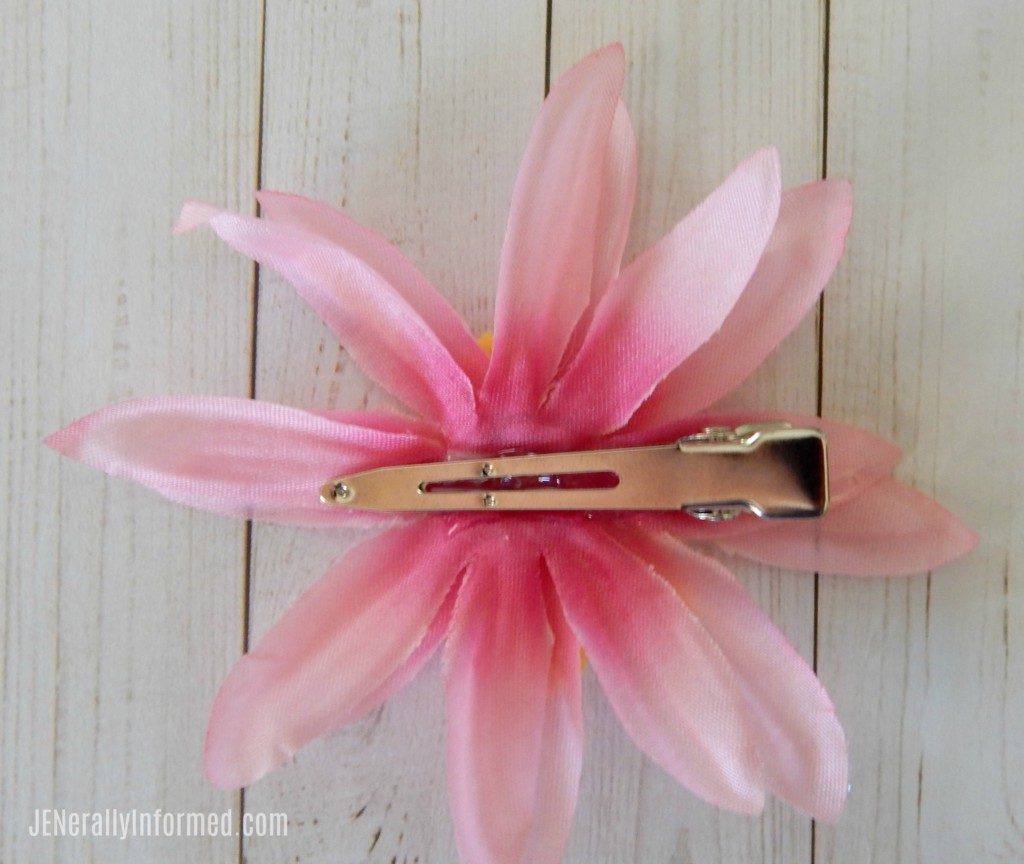
And now you have a super cute flower or bunny hair clip!
Doesn’t it feel all springy now?! At least digitally! You are welcome BTW:)
If you liked these crafts, please go ahead and share this post! Doing that is the highest compliment for a blogger.
Thanks for stopping in and happy Spring!
Love,
Jen
yourcialisrx.com/cialis_super_active.html