I love making rag wreaths! They are the cutest ever and because there are so many adorable fabrics out there, the sky is the limit for the kind of themes you can select for making a rag wreath! My 8-year-old daughter told me that we do not have one for early winter, Valentine’s Day, and somehow we missed St Patrick’s Day and Halloween. I guess we better get to work!
But today, I am going to share how to make your very own Christmas Rag Wreath. They are super easy to make, but if you buy one at the store ready-made they can be quite expensive, so with just about 30 minutes of work, you too can have a really cute rag wreath to adorn your door!

Here’s what you need to make a rag wreath:
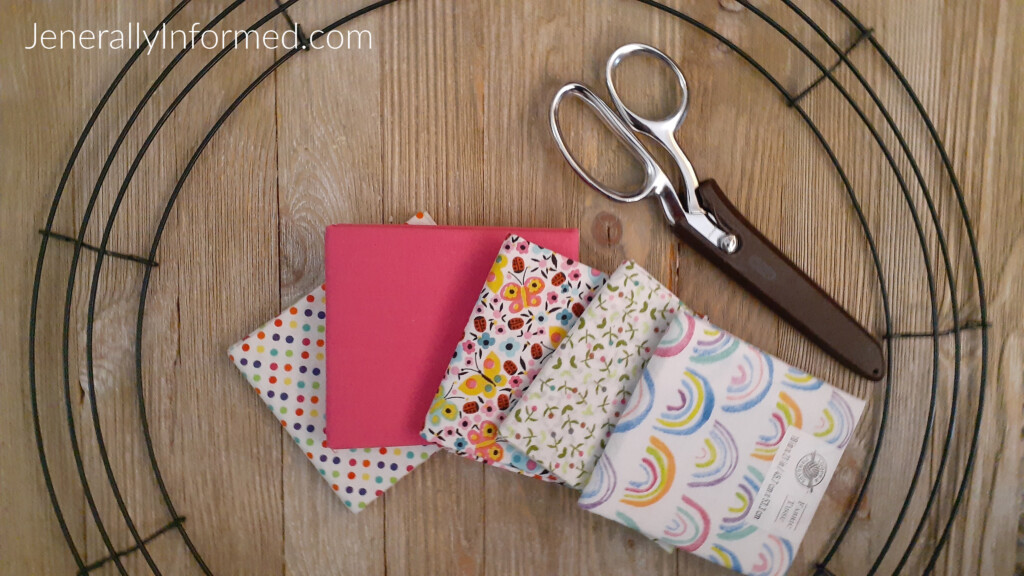
A wreath form, about 5 to 6 fabric squares, and a really good pair of scissors. I use fabric scissors for an easier, cleaner cut. Note, this fabric is from my first-ever wreath that was for Spring!
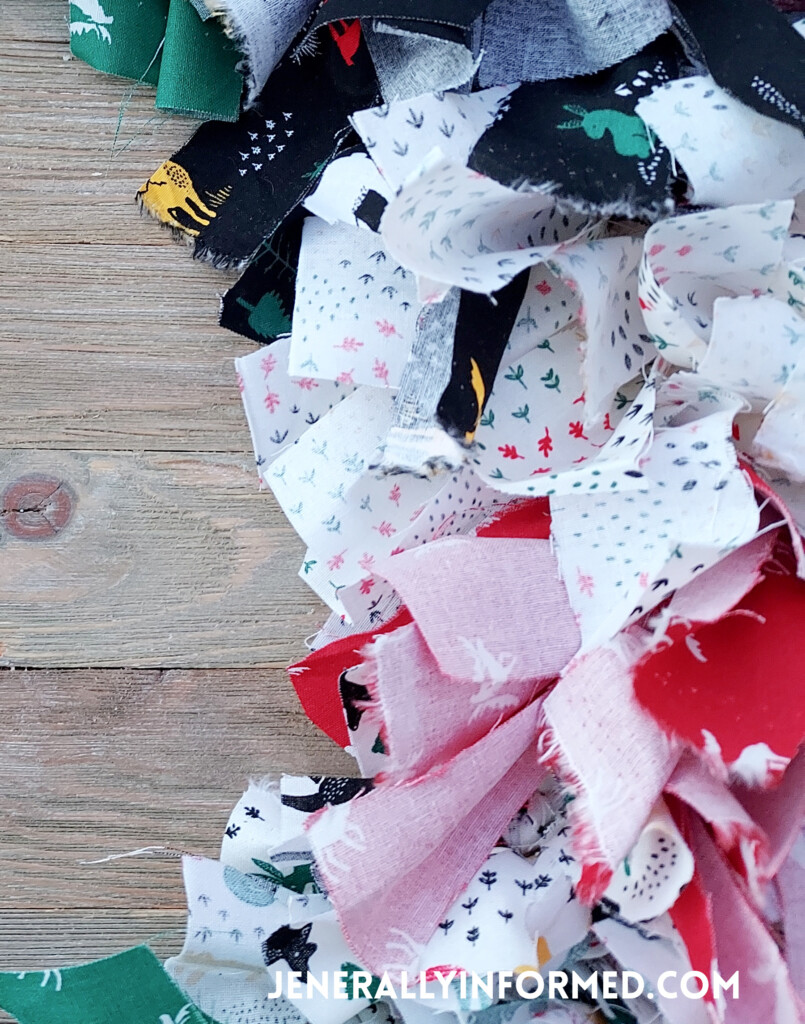
My daughter and I cut the fabric squares from the longest part of each square in about 1 1/2 inch thick pieces and then we (mostly she) cut each of those long pieces again in half and tied the scraps on. I kind of just sat and supervised :) Then in a rotating pattern, we double-tied the fabric strips onto one of the different wire portions of the wreath.
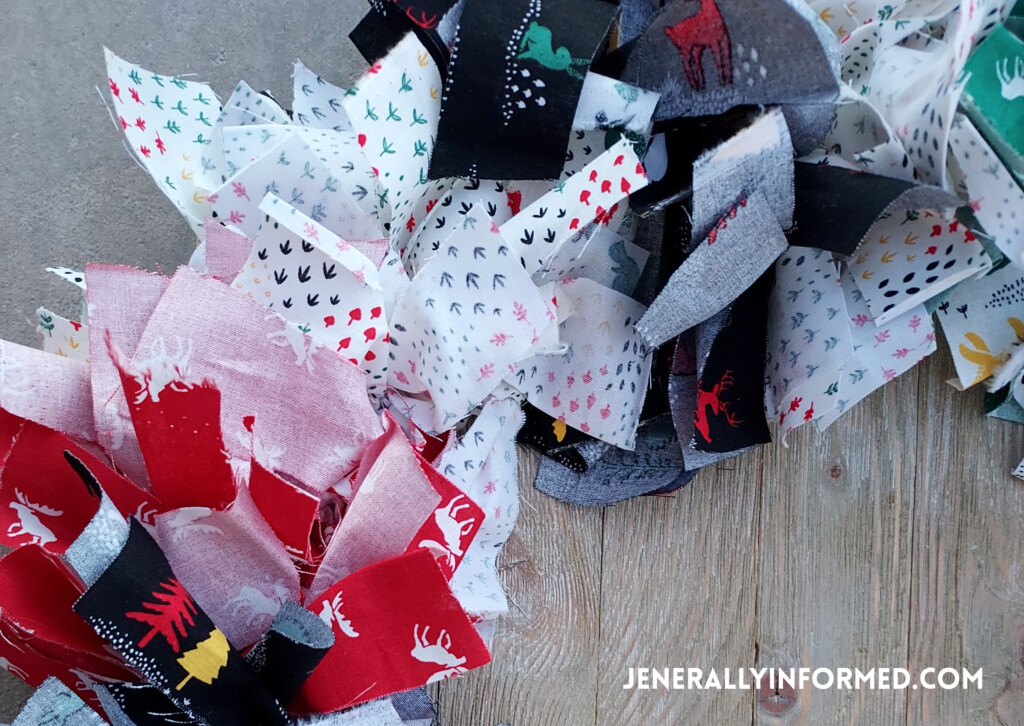
Note: With some types of fabric, you might want to tie the fabric pieces inside-out on the wreath form since they might naturally flop that way making the darker colored side more visible that way. For some fabrics, tying them strips inside-out is not necessary. You just have to tie your first fabric piece on and see what it does, and then move forward from there.



If you would like to see some of the other wreaths I have made, please visit the posts below:
Thanks for stopping in and Happy Holidays!
Love,
Jen
Go ahead and share this post, you know you want to!

