This post contains affiliate links.
My daughter Rebekah is a gummy bear addict and this summer we decided to try making gummy bears for ourselves. I do admit to having some hesitation in advance of this project because I saw a lot of potential pitfalls in the process, but truthfully, gummy bears are super easy to make and they tasted really yummy!
Rebekah admitted that there was one huge pitfall we overlooked, and it is now that she knows how to make gummy bears cheaper than buying them, nothing can stop her from trying to make them in all the colors and flavors!
Secretly, for me as a mom that is a huge win. I would rather she makes gummy bears all summer long than veg out on her phone!
So shhh….
There are a couple of ways you can make gummy bears and we actually tried both to see how each option turned out. I will share both recipes and you can pick which one works best for you
Gummy Bear Recipe 1
Here is what you will need:
- Cooking spray, for the mold- You can click this link to get the Gummy Bear Mold.
- 3 ounces of flavored gelatin
- 1 (1/4-ounce) envelope of unflavored gelatin
- 1/3 cup cold water
Directions:
Spray your gummy bear molds with cooking spray. Make sure to do this each time you make a batch.
In a small bowl, combine both gelatins and the cold water.
Whisk them together, then let them sit at room temperature for 10 minutes to allow the gelatin to soak up the water and soften.
Place the bowl in the microwave and cook for 30 seconds, then whisk well. Microwave for another 30 seconds and stir. The sugar should be dissolved and the mixture well mixed. If not, microwave for another 10 to 15 seconds until the sugar and gelatin are completely dissolved. Pour it into a measuring cup with a spout.
Pour the gelatin into the cavities. Alternatively, you can use a food-grade dropper to drop the mixture more precisely into the molds.
Place the candy mold in the refrigerator for about 20 minutes to set the gelatin.
To remove the bears, carefully push the sides away from the edges and toward the center, then pull them up and out of the molds. Repeat with other colors and flavors of gelatin, as desired.
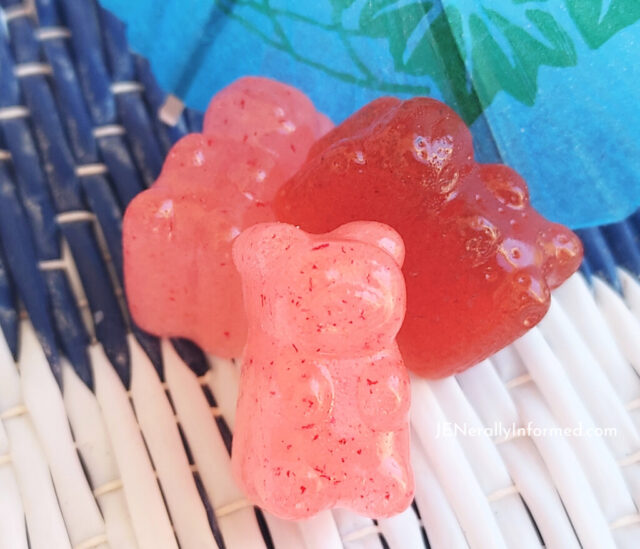
The other option is really super easy. You can buy an entire package that has almost everything you will need. You will still need to buy food coloring and flavoring. This option is really fun though because there are a lot of additional flavoring options you can purchase in a bottle that aren’t readily available if you use just the standard gelatin option.
Gummy Bear Recipe 2
Here is what you will need:
Lor Ann Gummy Bear Mix
Directions:
In a small bowl, add ¾ cup cold water. Sprinkle the gelatin packet over water and gently mix with a fork until the gelatin is completely saturated. Set aside for at least 5 minutes to allow gelatin to bloom.
In a medium saucepan, add 1/4 cup hot water. Add the contents of the gummy mix packet and turn the heat to medium-low or low. Heat at a slow simmer, stirring frequently, until the mixture is smooth and no lumps remain. While the mixture simmers, brush the sides of the pan with a wet pastry brush to dissolve any remaining sugar crystals.
Remove pan from heat. Once boiling action ceases, add bloomed gelatin and stir until completely dissolved. Allow mixture to rest for 5 minutes, then use a large spoon to remove and discard the foamy layer.
Stir in 1 to 1-1/2 teaspoons LorAnn Super-Strength flavoring. Add food coloring as desired (optional).
Pour the mixture into a measuring cup with a spout. You could also use a dropper, but we did pretty well with the pour spout measuring cup.
Fill mold cavities and place in the fridge for 20 minutes to set.
Remove gummies from molds. Allow candies to air dry at room temperature (do not cover) for at least 6 hours. Store dried gummies in an airtight container. We put ours in the fridge because we learned we liked them cold!
Here is a little Pro Tip:
If you don’t have enough molds to use all of the gelatin mixture once it is cooked and ready to pour, you can reheat the mixture to use after each batch. I recommend heating it on top of the stove in a pan because a microwave can get messy fast! We learned that one by accident…
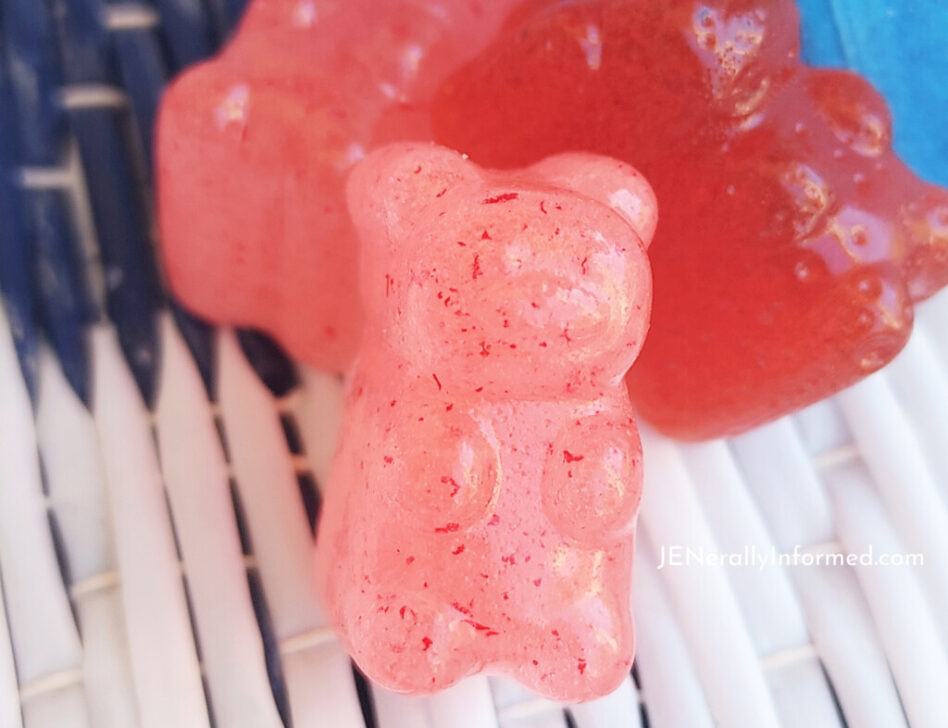
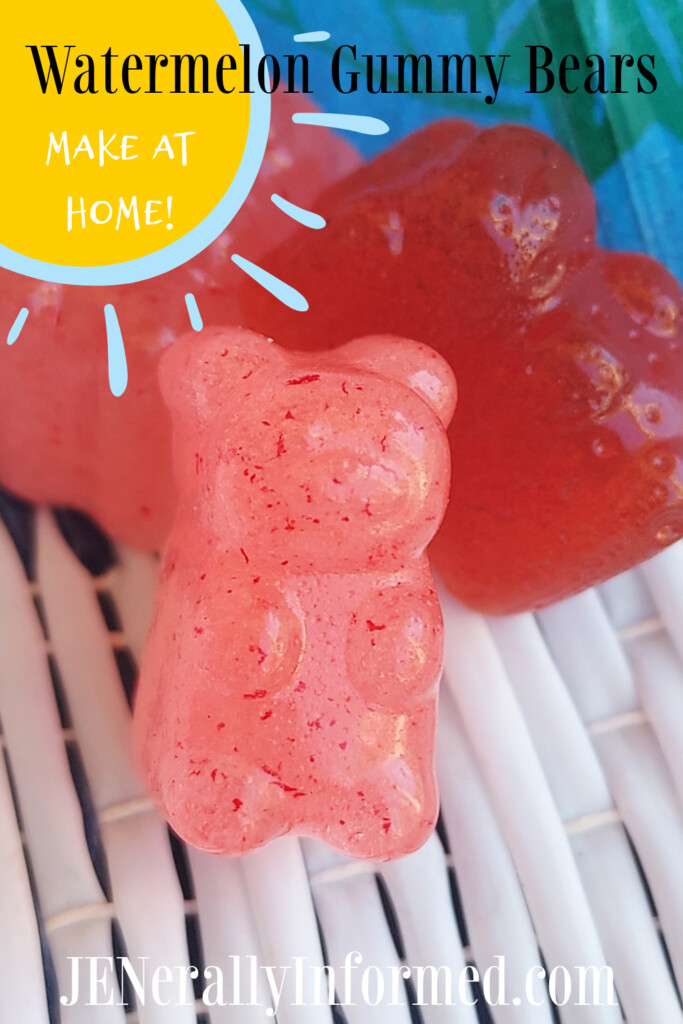
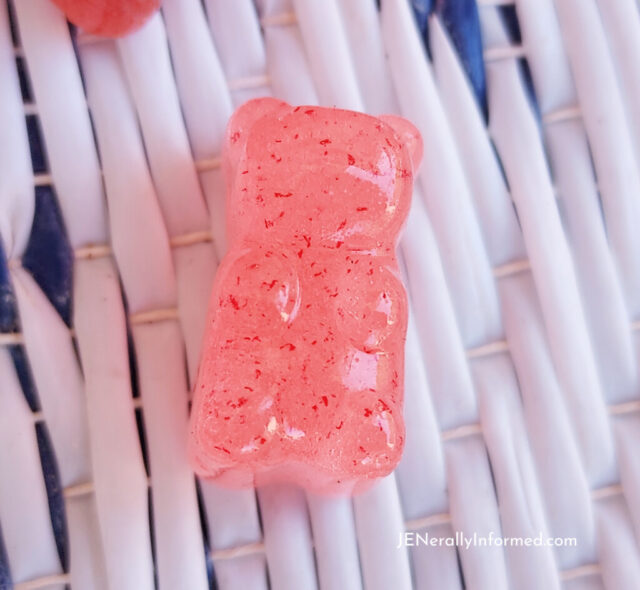
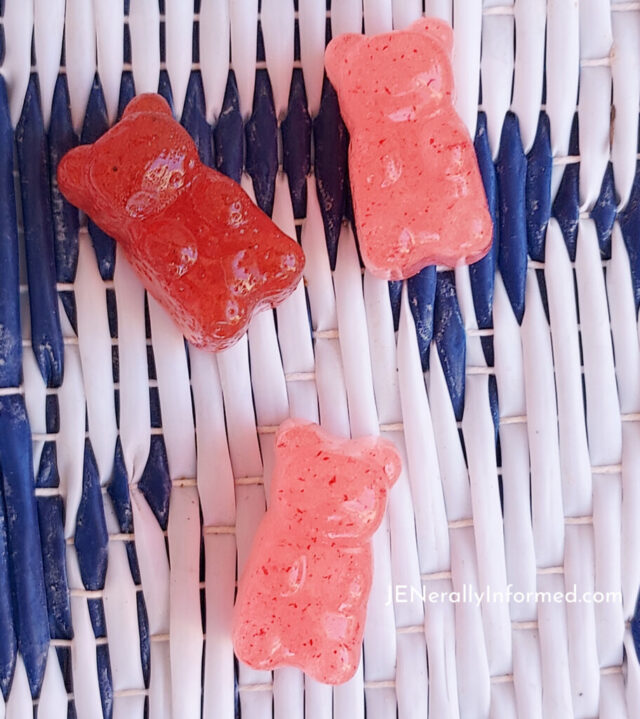
It does not take very long to reheat on the stovetop and when you do reheat the mixture, it changes the color ever so slightly. That is why you see darker and lighter gummies in my pictures. That was a fun discovery!

Thanks for stopping in! If you end up trying this recipe I would love to hear what flavors you experimented with.
Love,
Jen
Go ahead and share this post, you know you want to!

