This shop has been compensated by Collective Bias, Inc. and its advertiser. All opinions are mine alone. #SavvySnacking #CollectiveBias
There are just a few weeks left until the end of our school year and I am totally ready for summer vacation to start! Although conditions in Southern Arizona during the summer resemble a ceramic furnace, I am excited for long lazy days spent at the pool and star filled nights out on patios and porches sipping on anything you can to keep cool. During these sizzling summer months I find that day time snacking is the way to go, as large and heavy meals just don’t mix with the wilting heat. To beat the heat, you need to spend time away from the oven and no-heat, easily portable food is essential. Meet one of my current favorite snacks, Lorissa’s Kitchen!

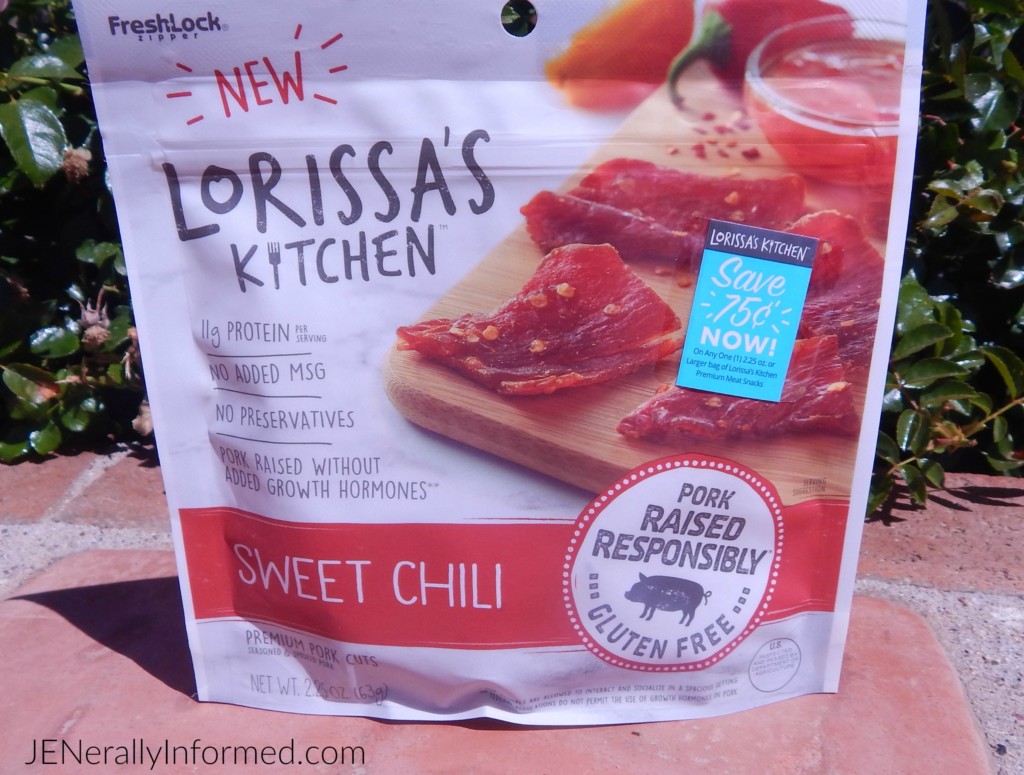
Seriously these are so amazing! Lorissa’s Kitchen is high in protein, low in carbs, low in fat, has no MSG, no preservatives and is gluten free. I snagged three of their mouth watering flavors and I would be hard pressed to pick just one favorite. Funny story about the Korean Barbeque Beef as you can see in the picture below, but I was munching on some when I was with a client the other day and gave him some. He was so impressed (he had served in Korea in the military) he decided to mail some to his son who is serving in the military overseas. So we hit the internet, ordered a four pack and his son should be receiving a little Lorissa’s Kitchen care package ASAP. And I know he will be pleased!

Here are the 2 other flavors I am totally noshing on. They are a perfect choice for a tasty, portable protein snack and I REALLY like the whole idea of being able to take something along with me that is both delicious and a healthier choice.
Now you want some too, don’t you? And I wouldn’t blame you, because the bold rich flavors of Lorissa’s Kitchen will knock your socks off!

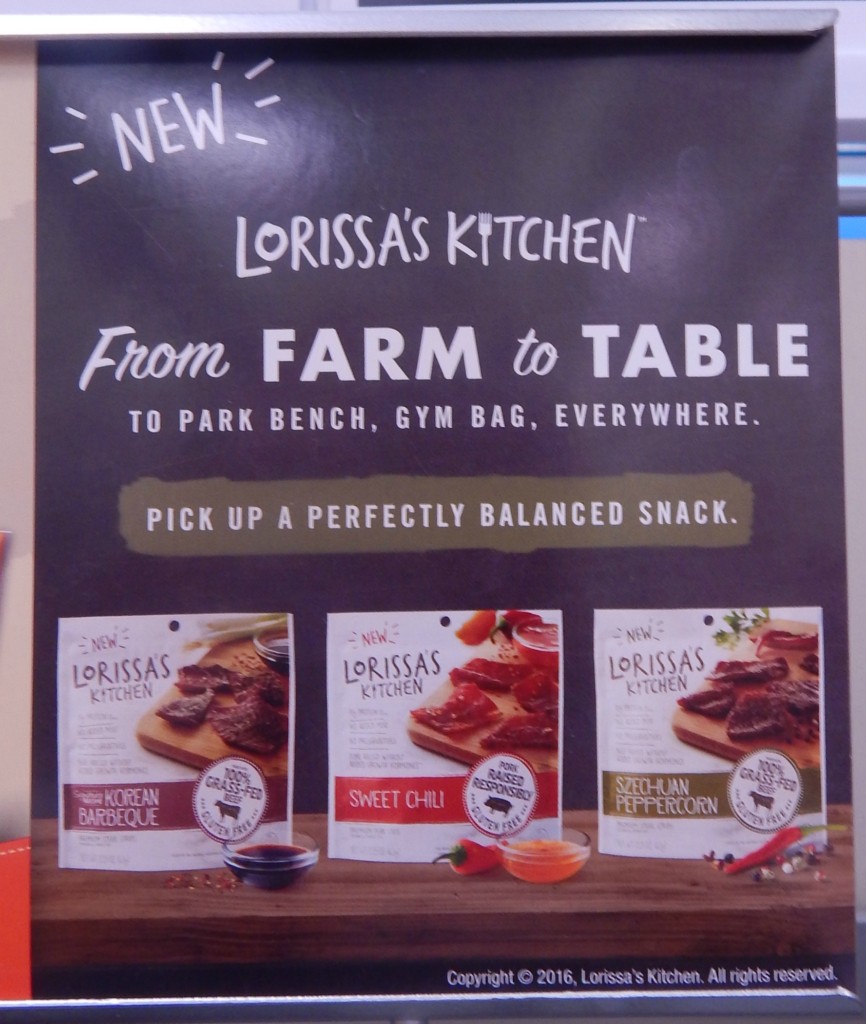
I picked mine up at my local Walmart in a little end cap display right next to the checkout.

Before I had actually tasted Lorissa’s Kitchen, I have to admit that this sign was a big draw for me. I love the whole concept of Farm to Table and then from there as a responsible snacking option that keeps me going during the rest of my day.
Now, speaking about “going”, I do a lot of that all day long and carrying around a big stiff bag is kind of a bummer. Especially when it is hot outside. So this summer I wanted to make myself a cute little bag that could go anywhere with me and of course, hold my water and Lorissa’s Kitchen snacks! And I am so excited by how my new summer bag turned out. Take a look!
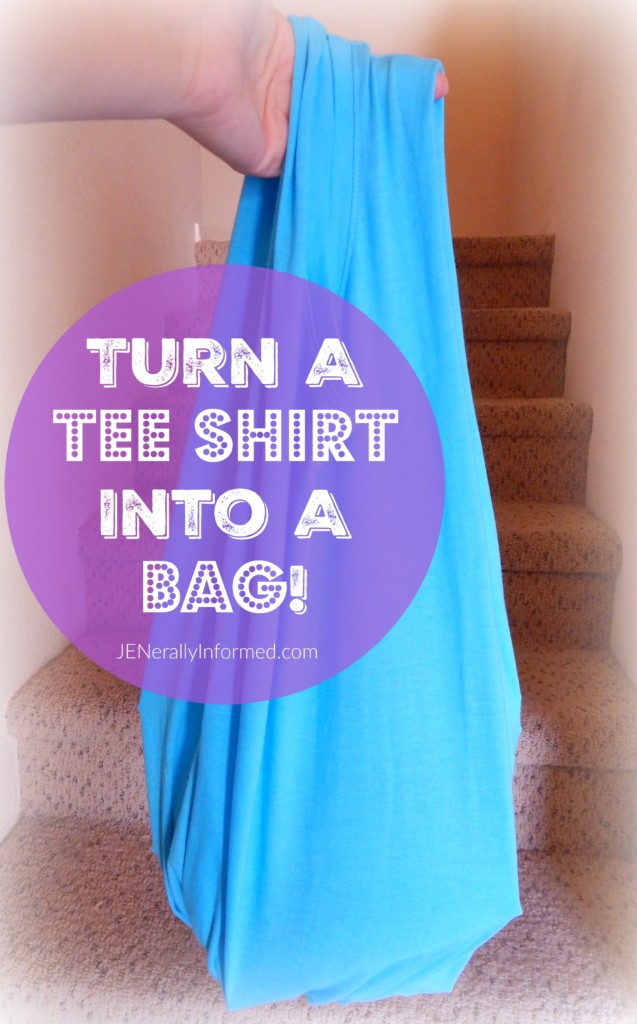
This was seriously the easiest thing to make. It took me a total of 10 minutes from start to finish. Everyone should have one of these for the summer months. If you are interested, here is how to make your own:
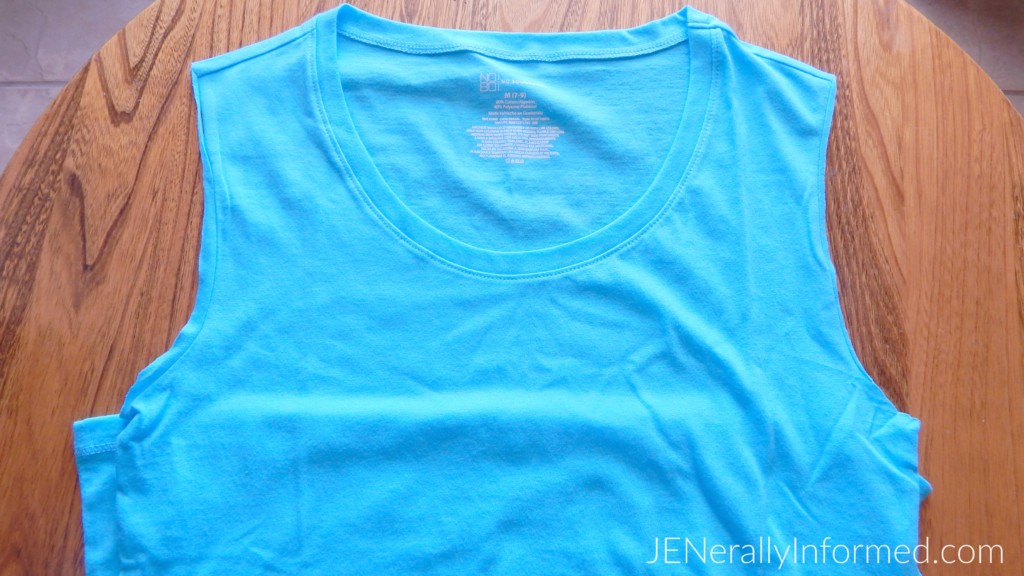
Step 1- Grab a tee shirt!
I used an old one that no longer fit my daughter and had a little hole in the bottom.

Step2- Get out some sharp scissors and cut off the sleeves.
I matched mine up and cut them at the same time so they would match, but the cut deesn’t have to be perfect.
At this point you can evaluate the neck of your tee shirt. Mine already had a fairly good scoop, so I opted not to open it up anymore. If you do need to open up the neck area, I would suggest using a bowl and placing it right on the neck area, tracing a curved line, and cutting along the edge.
Step 3- Turn the shirt inside out and determine the depth.
I wanted a little more room on the inside of the bag so with a ruler I traced a line along the bottom of the shirt.

Step 4- Cut your fringe.
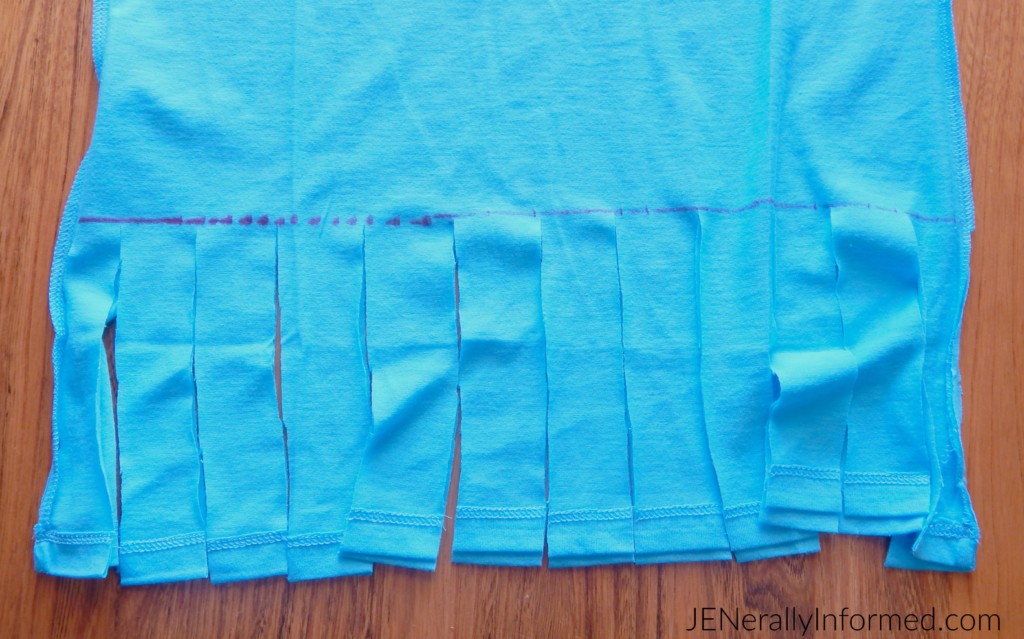
Step 5- Tie the fringe.
Tie each of the matching fringe pieces together and then tie them again with the fringe pieces alongside it. This helps to ensure that there are no holes in the bottom of your bag.

Turn the bag right side out and voila, you are done and ready for all of your summer adventures!
So now that you know how to make the perfect bag to hold all of your summer essentials, what snacks would you fill it up with? How about some Lorissa’s Kitchen snacks?!
Lorissa’s Kitchen #SavvySnackingSweepstakes
Summer just got a heck of a lot tastier!
Thanks for popping in today and I hope you have a great one.
Love,
Jen

Go ahead and share this post, you know you want to!
Synthroid no prescription
plus Viagra