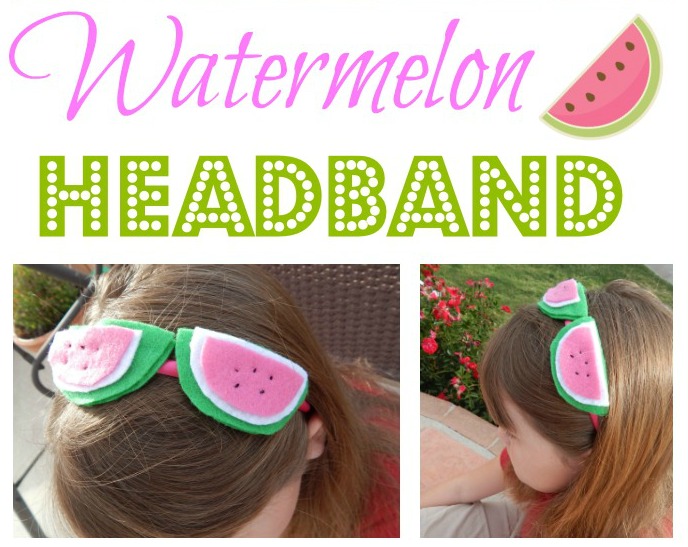
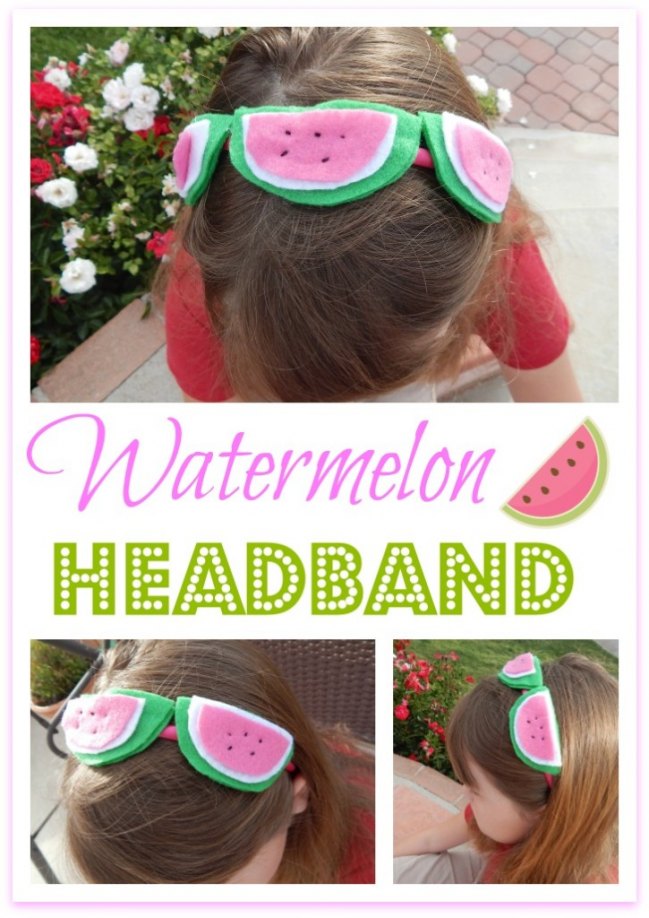
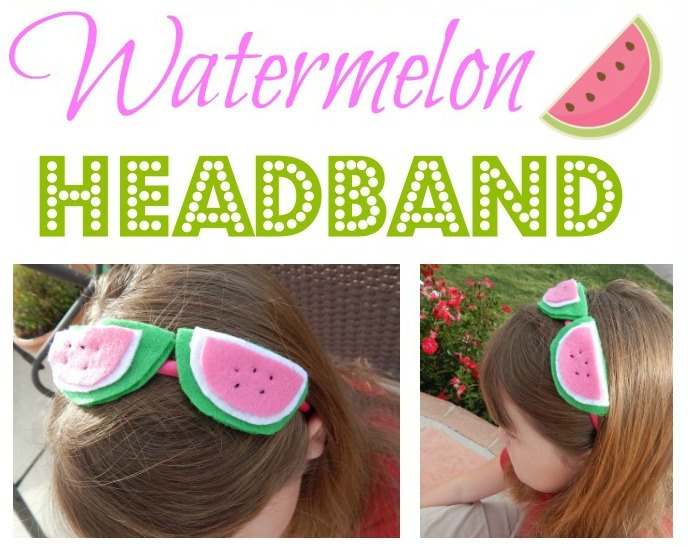
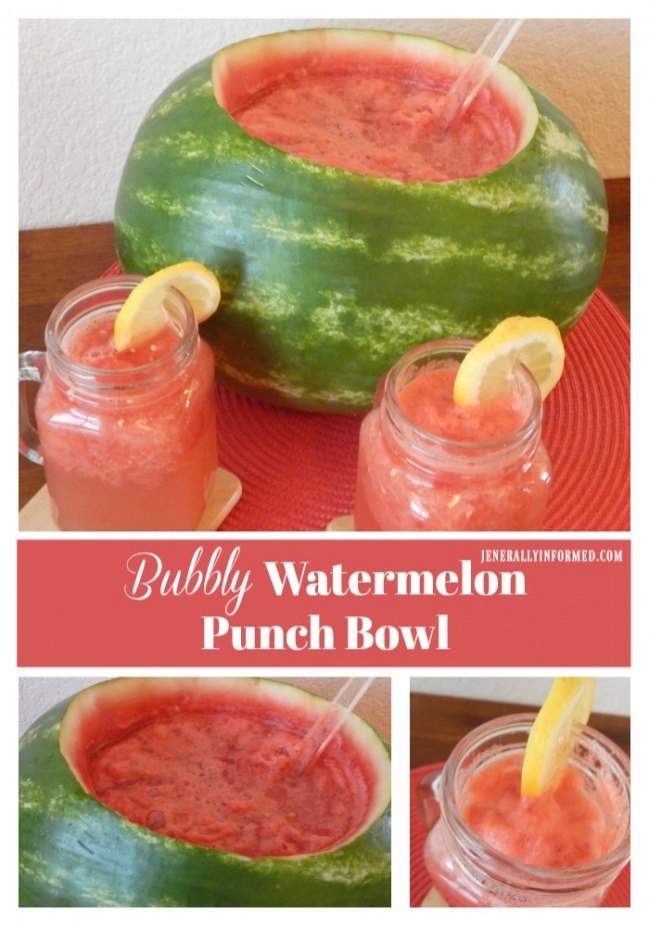
Hi everybody! How is your summer going? Here in the land of 100 plus degree heat, we eat a lot of cold watermelon. Last week as my family and I were munching on some I thought why not add hair accessories to the list of watermelon accouterments, right?! It is seriously one of the most amazing fruits and so, yeah let’s do it!
Today I am excited to share this cuteness with you!
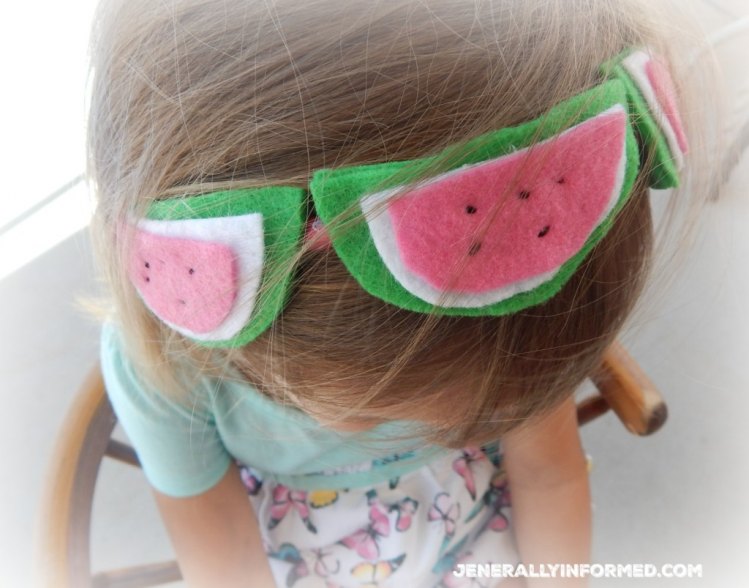
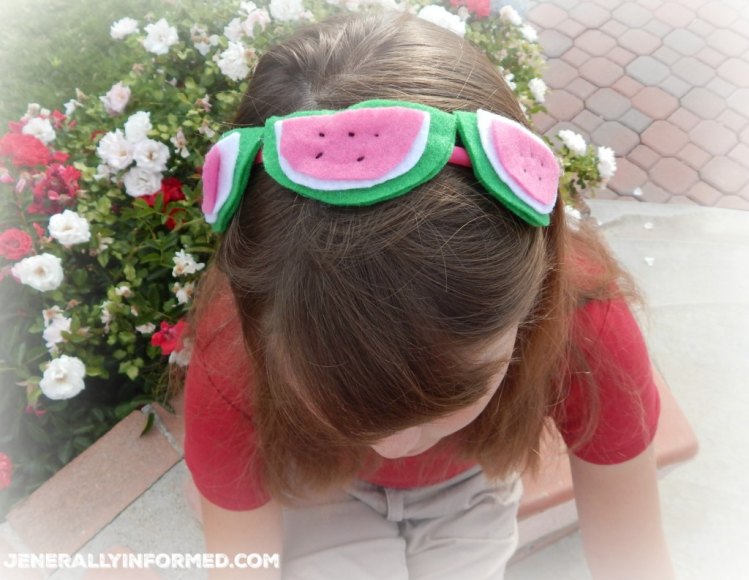
Felt is one of my most favorite crafting materials ever. It is easy, versatile, and very forgiving. These are all very good attributes for a lazy, um I mean simplistic (that’s the word!) and not so gifted crafter like myself. My 9 and 4-year-old have pretty much been wearing their headbands solidly since their creation and have received tons of compliments on it. YAY! I of course made sure my children informed everyone their mother made it because it is not too often I get street cred on any of my crafting items!
So here we go, make your summer fabulous with this adorable DIY watermelon headband!
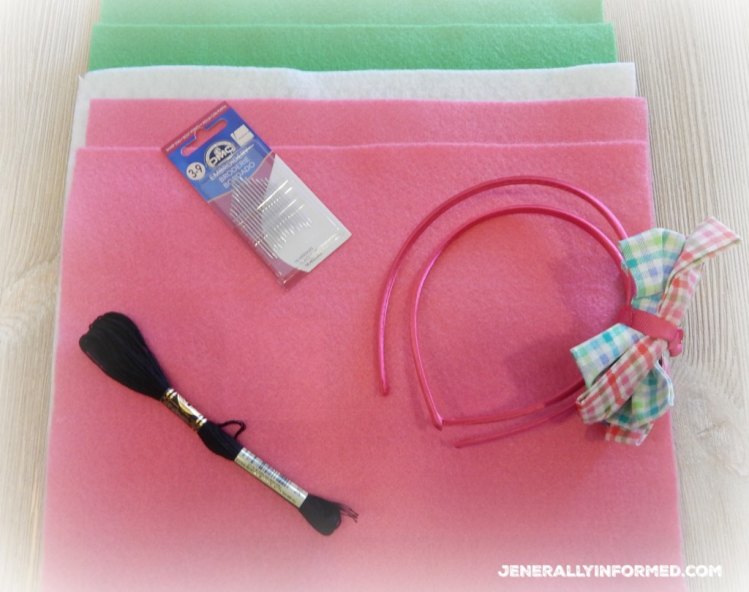
You can get most of the items you need to make your headband at your local dollar or craft store. I think I spent $3.00 to make 2 headbands. I might have gone a little overboard on how much felt I bought and you could probably make 2 headbands with just one piece of each color. The headbands were something I picked up at the dollar store. They had cute little bows already on them. I cut them off and reapplied them to little clips. With 3 daughters there is a lot of hair accessorizing going on around here on a daily basis!
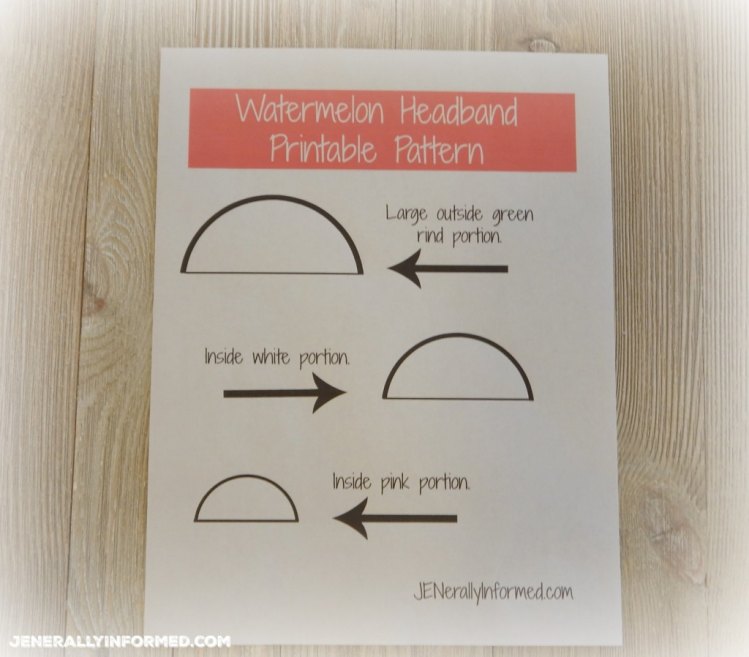
Now because I personally need things to be as easy as possible, I like to help others out. So take a look what I created to make this project even better. A pattern! You can click on the image or download the pattern here.
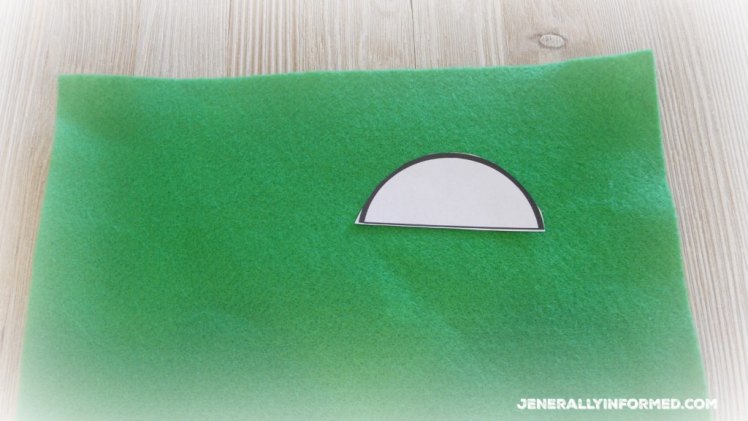
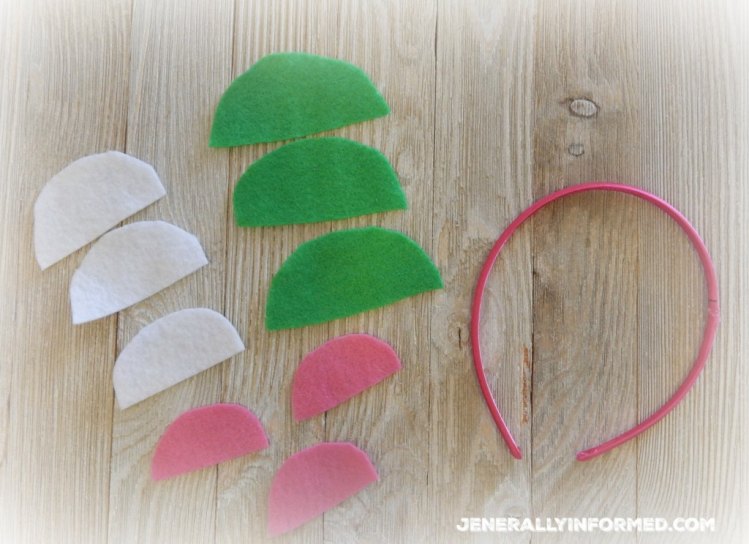
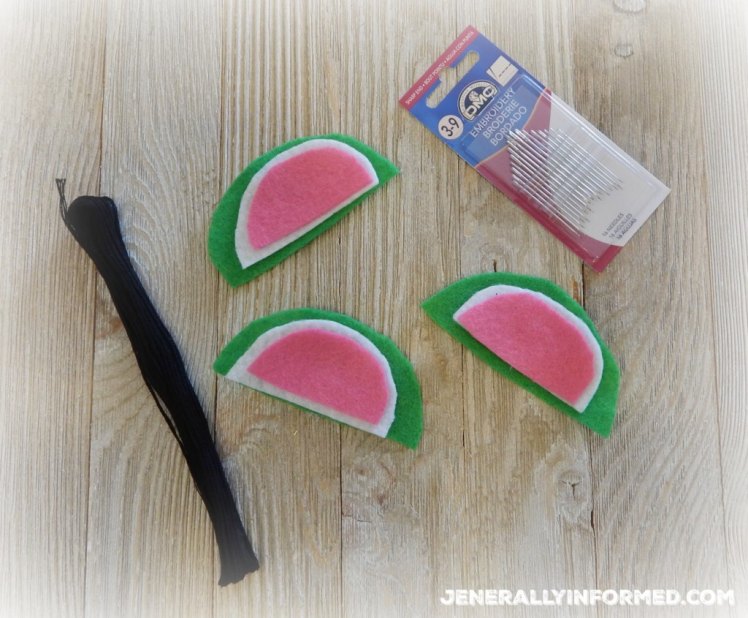
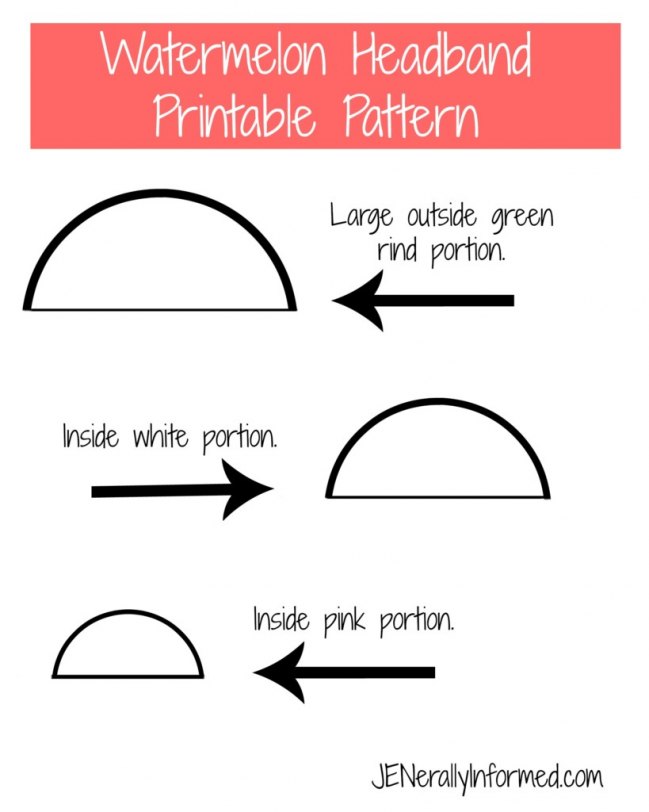 Next, grab your pattern and cut out the corresponding shapes to the colored felt.
Here is a little crafting tip 101, because I am so good at that and all, but you can adjust the size of the watermelon half circles to fit your child’s head. I made the slices a little bigger for my 9-year-old and a little smaller for my 4-year-old.
I cut out three of each of the sizes in order to make 3 slices for each headband.
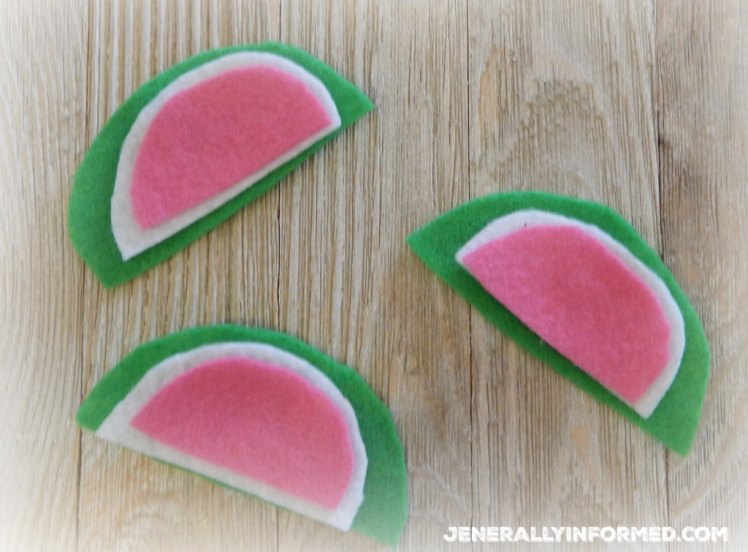
Next, assemble your watermelon slices. I used a glue gun to do this step.
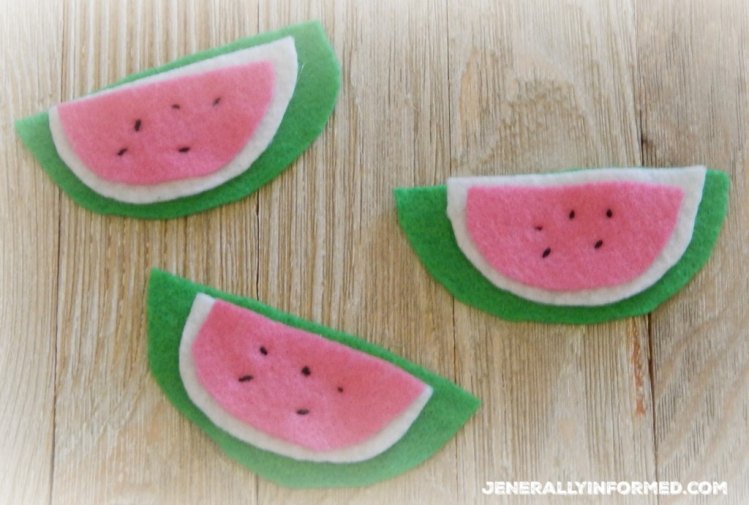
Now it’ time to make your cute little black seeds on each slice. I used black embroidery thread and an embroidery needle.
It doesn’t have to be perfect, because who opens up a watermelon and checks for symmetrical seeds anyways?
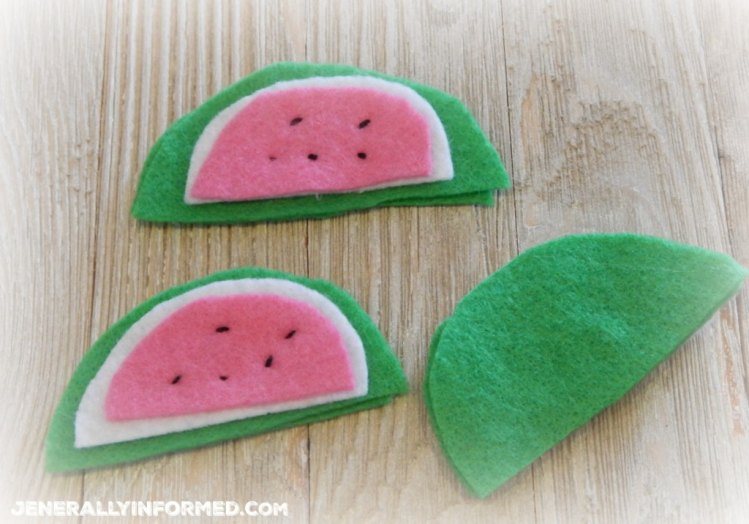
Before you apply your slices to the headband, cut out a portion of the green felt and apply it to the back of each slice like this. Again, we aren’t looking for perfection. This is about fun!
Lastly, apply your slices to your headband and voila, you are all done and ready for summer!
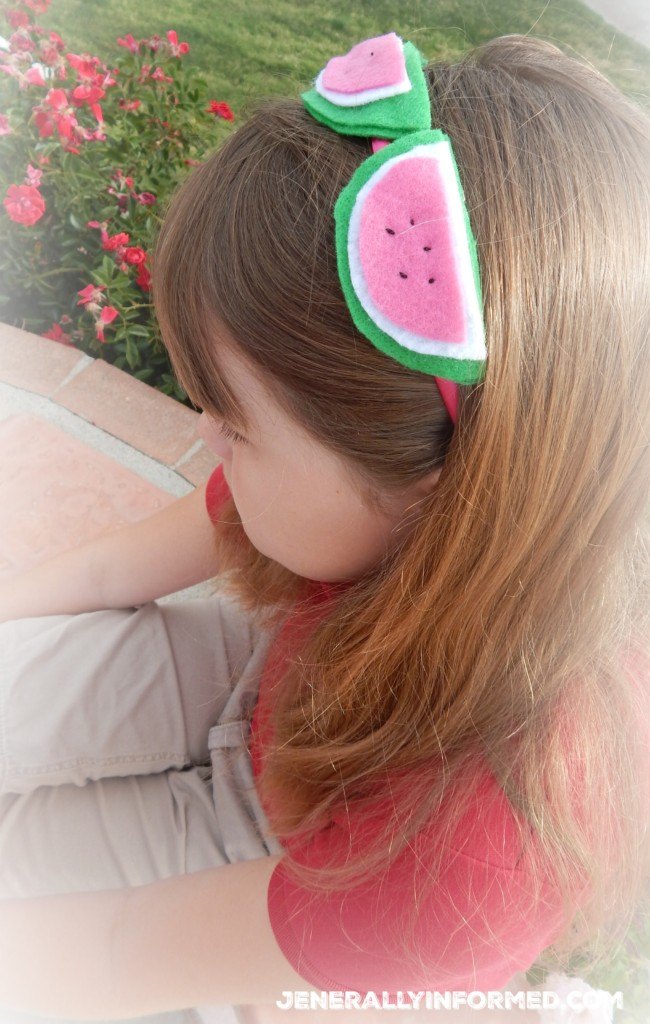
I hope enjoyed this quick tutorial. Happy summering and thanks for popping in!
If you would like some more watermelon fun, then check this post out!
And don’t forget to take a look at this one!
Love,

