Dinosaur Rice Krispie Treats
Three years ago while blogging for my book the Practically Perfect Princess I pinned a recipe that I thought would be fun to try for my children. It was what appeared to be an easy Rice Krispie treat in the shape of dinosaurs. My pin from this site to date has been repinned hundreds of times. I receive DAILY notices that yet again someone, somewhere has repinned my pin.
Hmmm……. Perhaps it is time to finally buckle down and try this recipe. But first I have 2 confessions to make.
I’ll share the first one now and wait until later for the 2nd.
Okay first confession: I have NEVER made Rice Krispie treats. You may not know this, but I am LDS (Mormon) and the ability to whip out a batch of Rice Krispie treats for a Cub Scout den meeting, or youth activity is something most LDS women can do in their sleep. Sure enough I have pretended to be able to make them by purchasing boxes of them, unwrapping each one and placing them on a plate. I know, don’t tell me how bad doing that is.
So let’s get this Rice Krispie Treat party started!
Ingredients
-
3 TBSP butter or margarine
-
1 10oz. package marshmallows
-
6 cups Rice Krispies cereal
-
green food coloring
-
cooking spray
-
large saucepan
-
wooden spoon
-
spatula
-
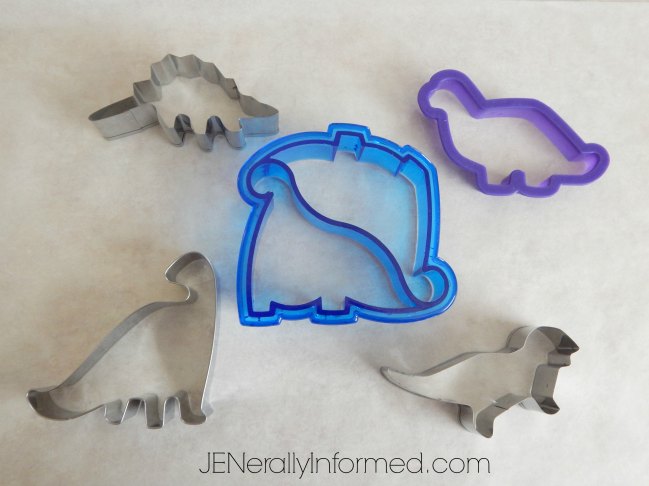
dinosaur sandwich cutters & cookie cutters
-
jellyroll pan
-
wax paper
Directions
In a large saucepan melt butter/margarine over low heat.
Nailed it!
Add marshmallows and stir with wooden spoon until completely melted.
Nailed it!
Stir in desired amount of green food coloring; Remove from heat.
Um, what does that mean “desired amount of food coloring”. I really need you to just TELL me! Alright, how about 6 drops. Please let that be enough.
Add Rice Krispies cereal; Stir with wooden spoon until well coated.
Confession #2 time. I really, really hate using or even touching wooden spoons. It is this weird tactile kind of thing I guess. So how about I not use one ok?
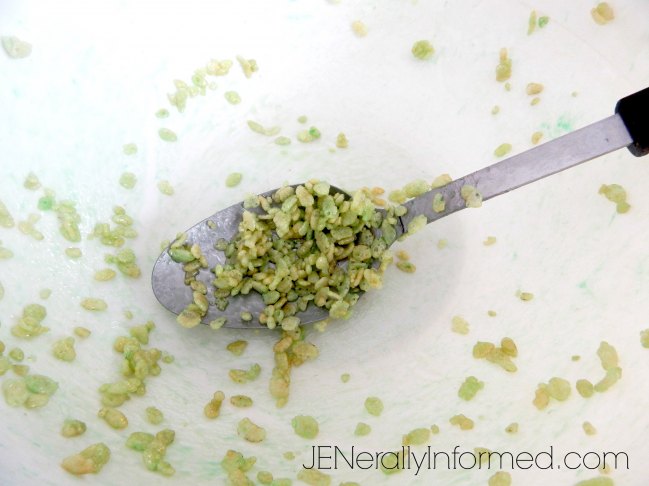
Oh snap, now I understand why you need to use a wooden spoon.
Not NAILING THIS.
Spray spatula with cooking spray.
Nailed it!
Line a jellyroll pan with wax paper & spray with cooking spray.
I do not own even know what a jellyroll pan is. So how about a Pampered Chef pizza pan?
Ok, Nailed it!
Using sprayed spatula, spread & press mixture into wax paper lined jellyroll pan.
Is it just me or would it appear that 6 drops of food coloring was not enough? Because instead of looking like a nice shade of Dino green the Rice Krispies look like throw up. Nope definitely not enough! I think I will add a few more drops and hope it mixes in. Let’s see how that works!
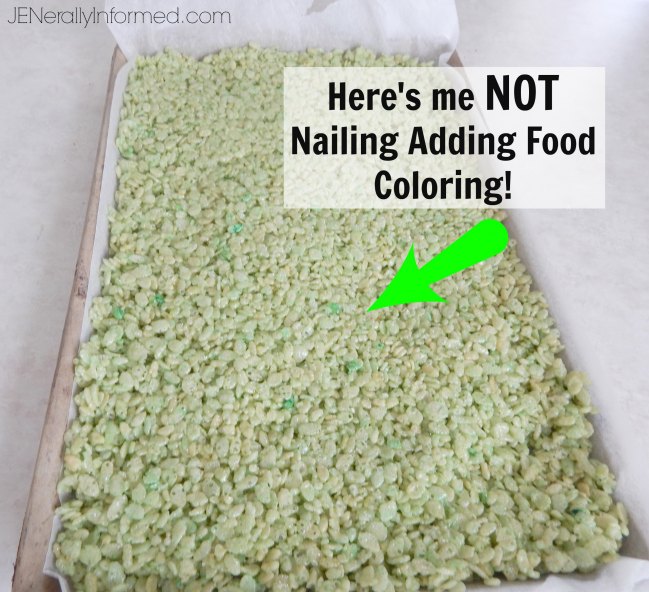
Allow to cool for about 15 minutes.
Nailed it!
Using dinosaur cutters, cut out desired Dino shapes.
*Little note on the cookie cutters. I had a hard time finding any dinosaur shaped ones. Thank heavens for Facebook friends who did have some!
Freak, using these cookie cutters hurts! I’m having to press so hard through the thick Rice Krispies that my hands are red and raw!
Not Nailing it!
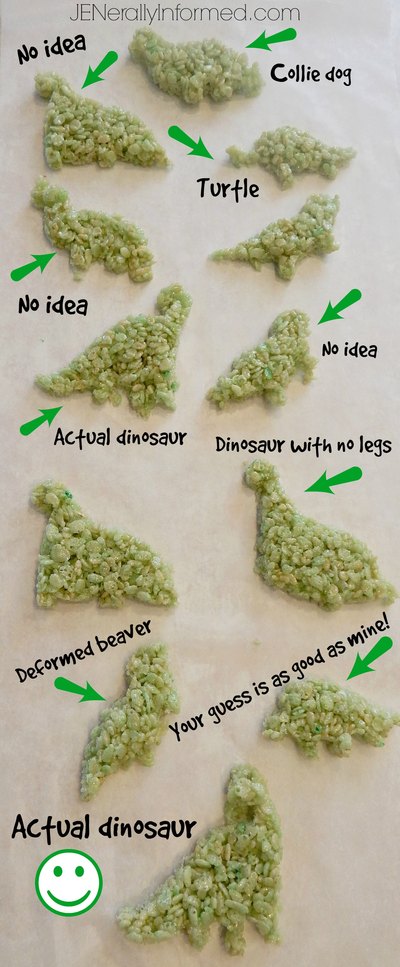
Alright drum roll please!! Are you ready to see how my Dinosaur Rice Krispies turned out?
Here ya go!
Yup, NAILED IT (not so much)!
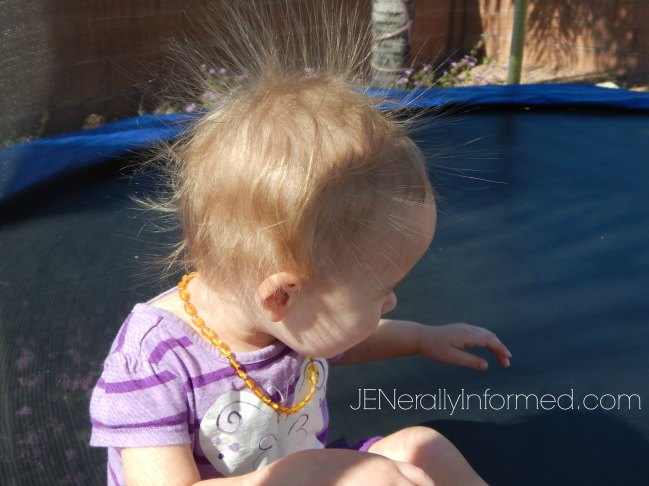
Before you go though, here is a picture of my adorable little dinosaur. At least I NAILED this picture.
If you liked this you might want to check out some of my previous JEN NAILS IT Pinterest Challenges.
Stay Happy! Stay Informed!
Love,
Jen

Go ahead and share this post, you know you want to!


